3D Box Projects
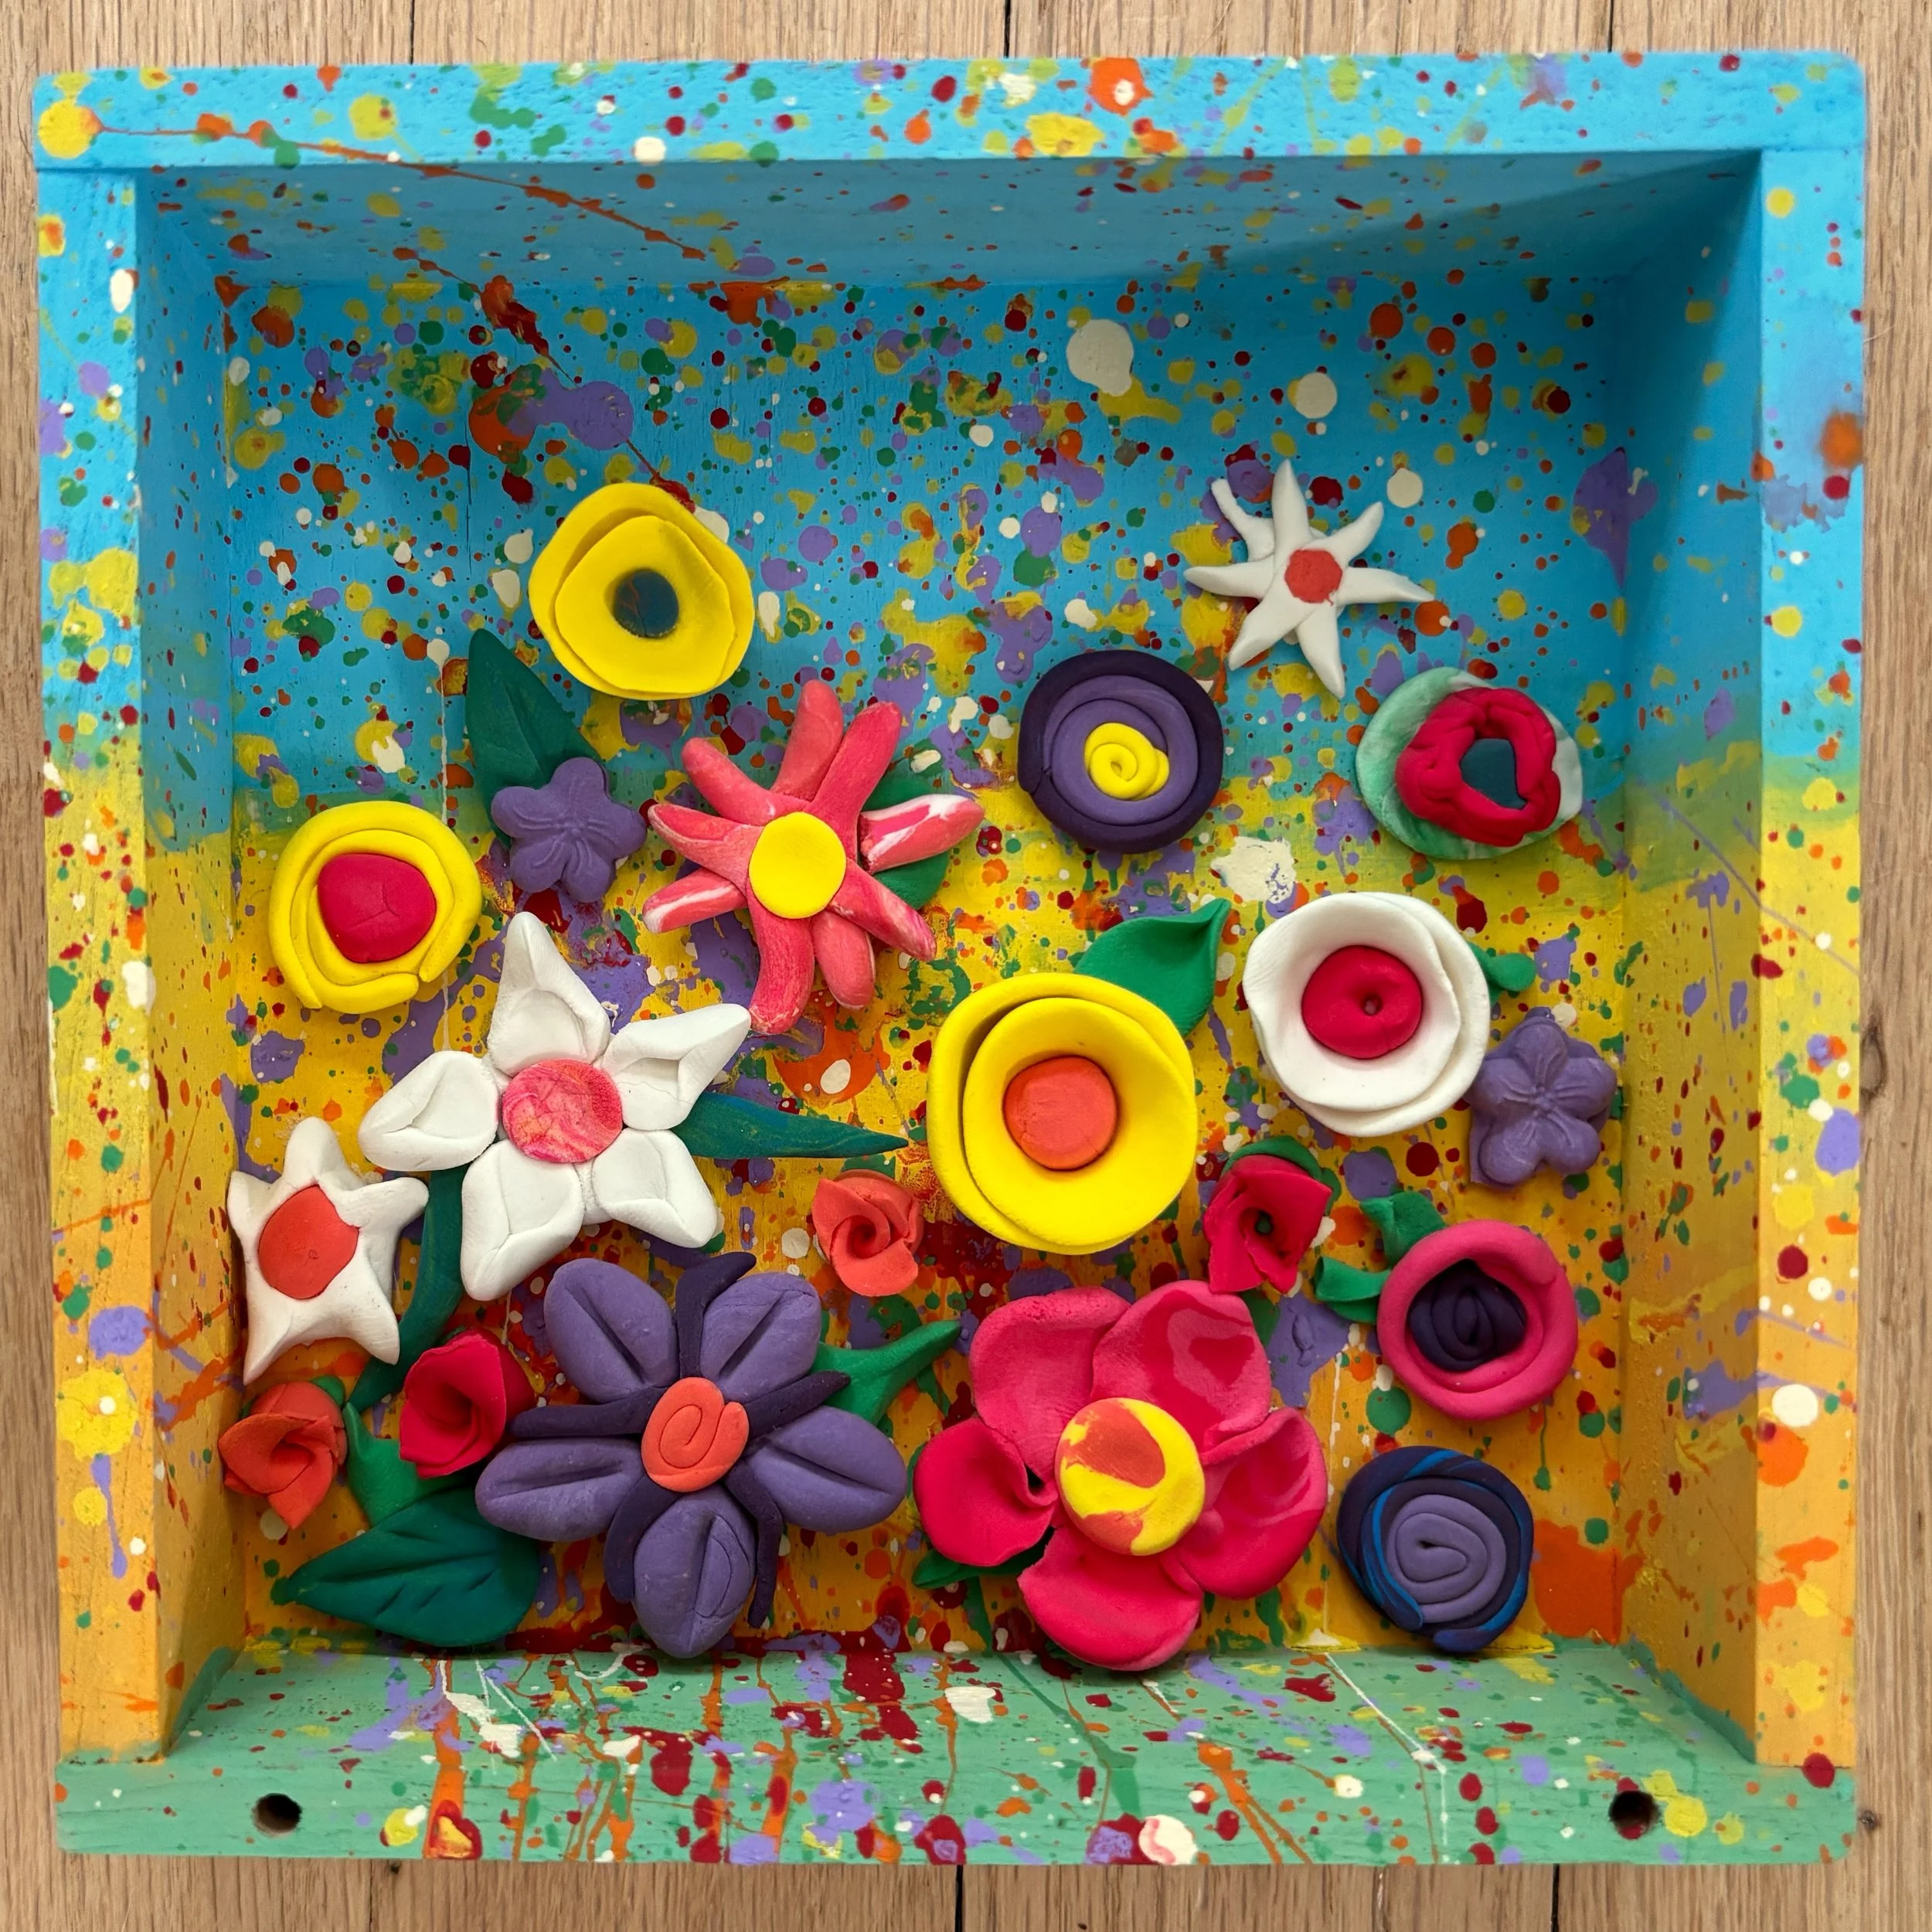
Every year I offer a different 3D box project because after the 1st one, people requested it. They enjoy creating an environment in their box. In this post you will see how I design a new box project and get a look at previous projects.
Prep
Process
When i first think about a project, I deconstruct it, deciding if the project can be done in a single session or needs more time. What needs to happen 1st so it can dry etc…
With the 3D Boxes, the box might need to be painted before the 3D element is added. The 3D element being created might need to dry.
It can be difficult to get a group to work on 2 different elements in 1 session, going from painting to sculpting for instance, but it can be done.
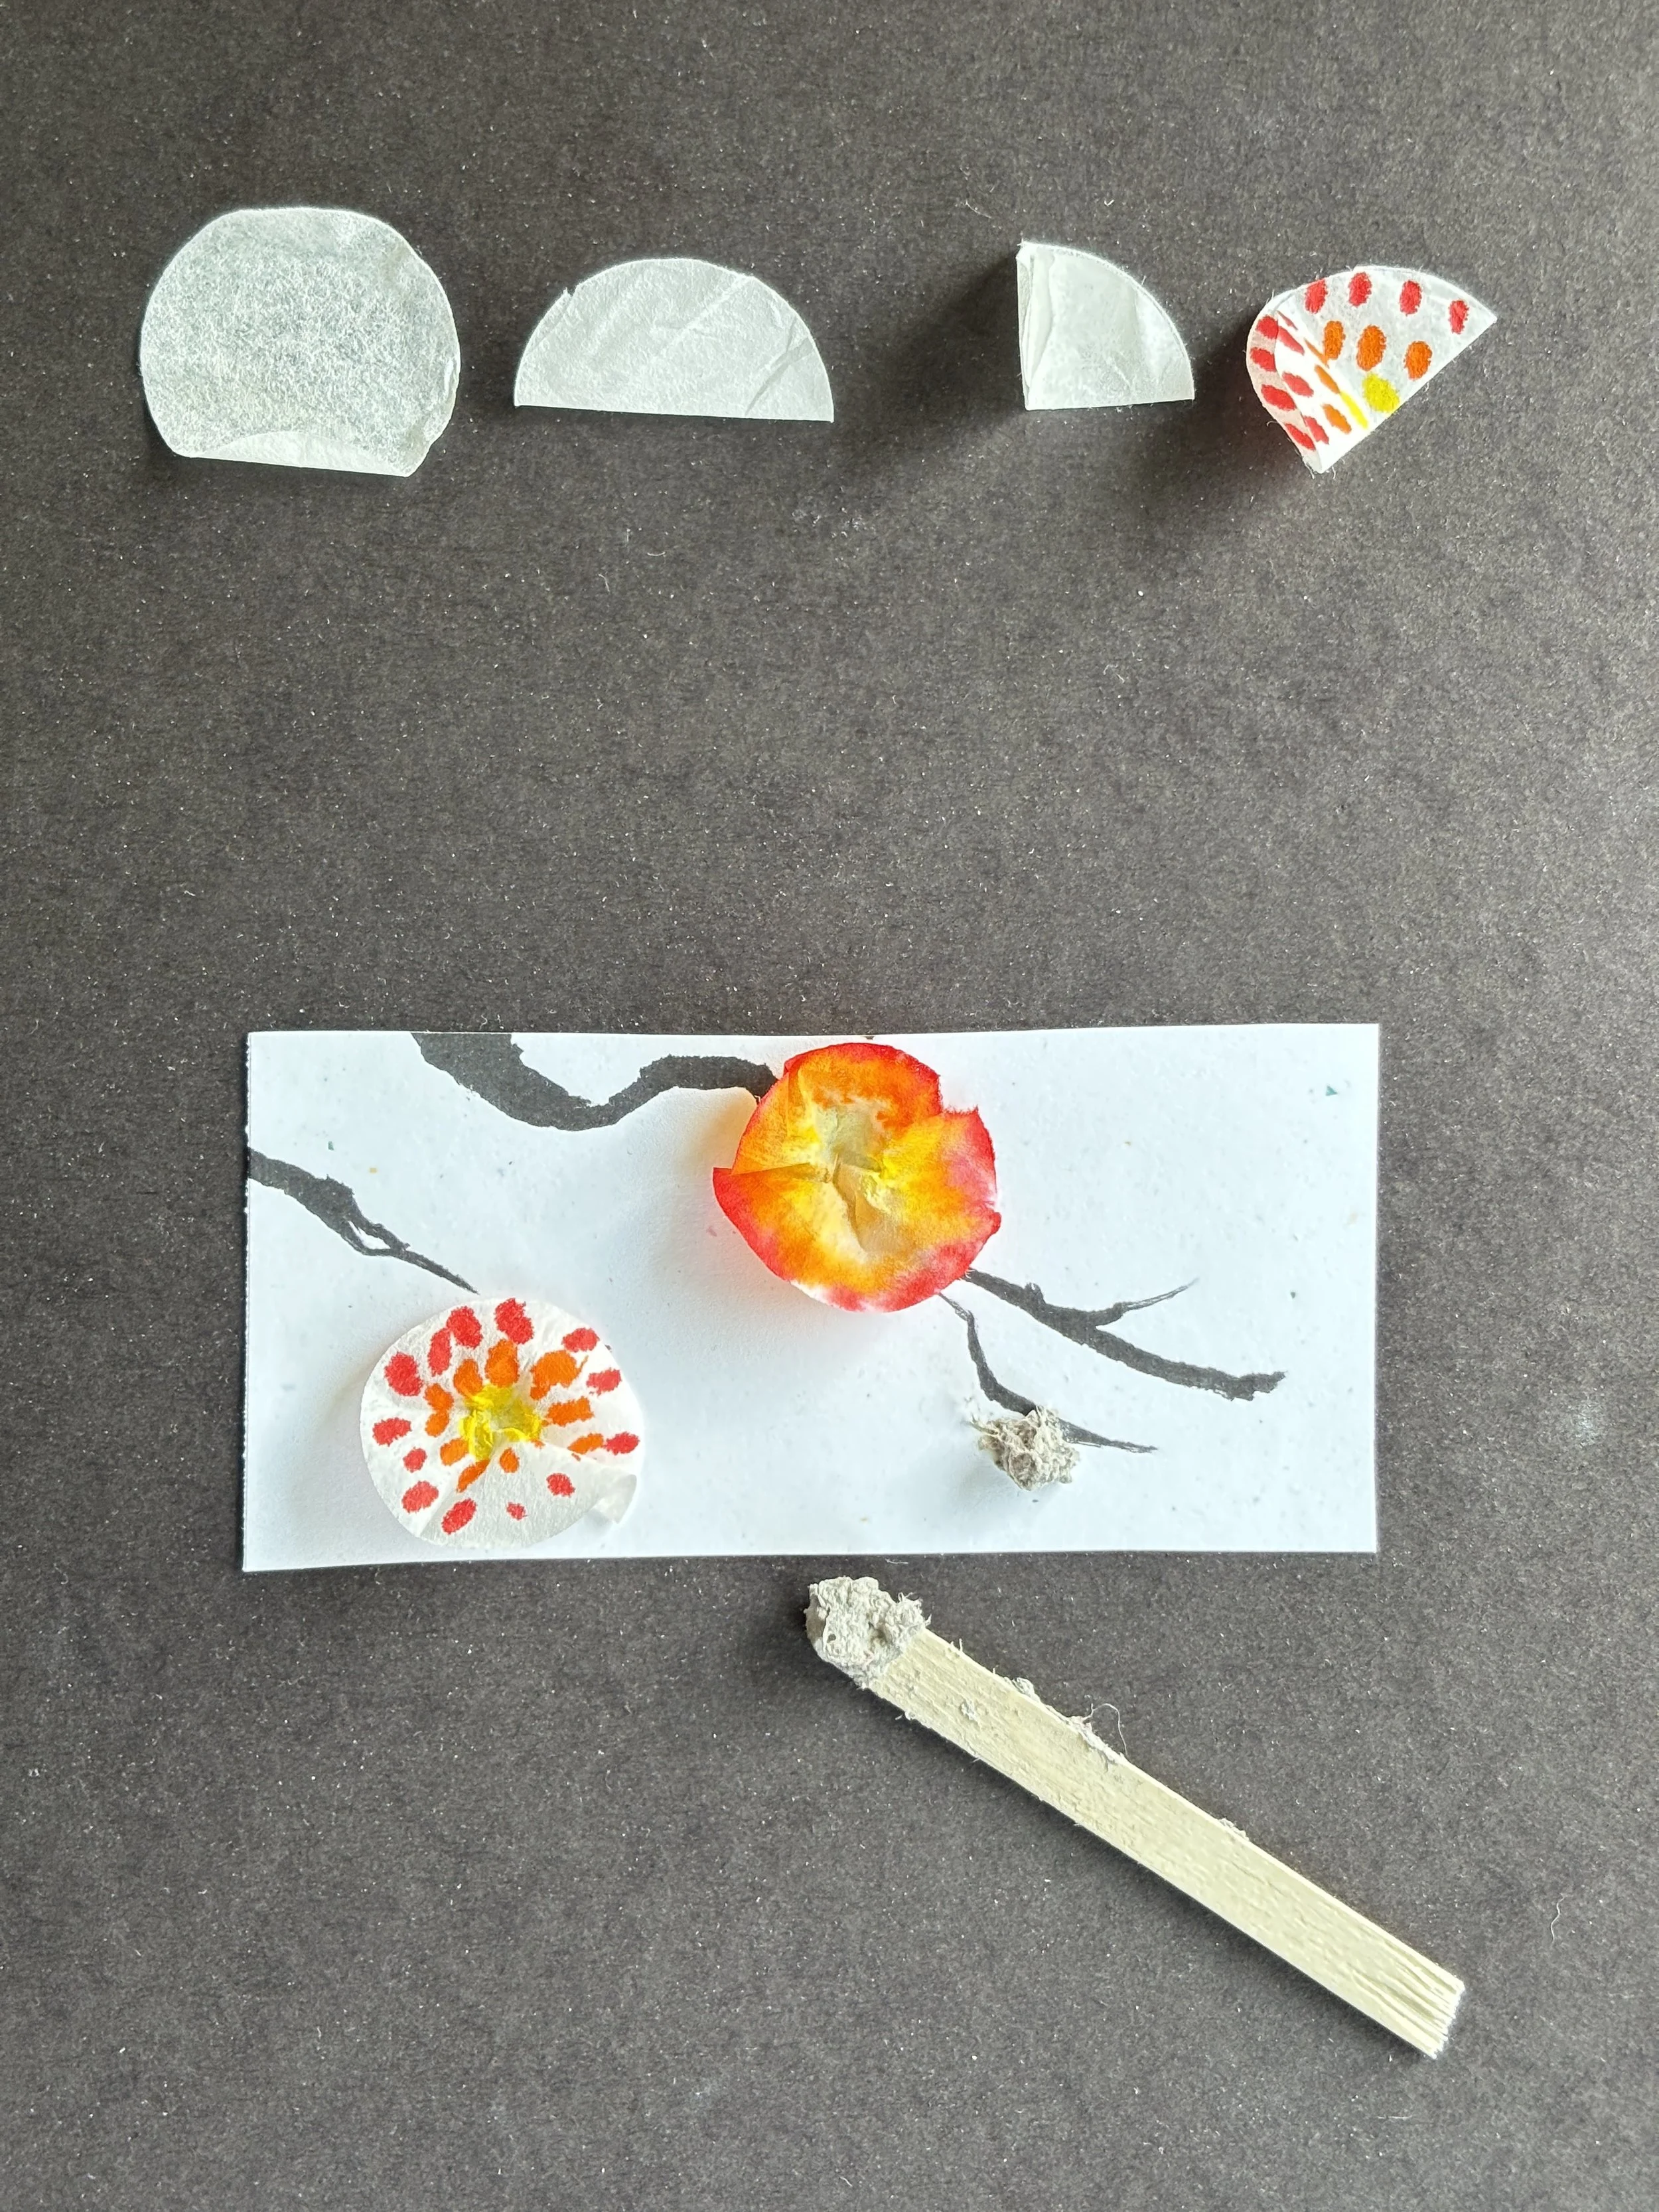
I have examples of the stages of the process to help them picture the stage of the project we are working on.
I often show them several different examples of the project so they are not locked in to recreating a replica of my example.
The 1st time I did this project, I did it similarly to these posts.
https://www.instagram.com/reel/C329dqKtzbA/?utm_source=ig_web_copy_link&igsh=NTc4MTIwNjQ2YQ==
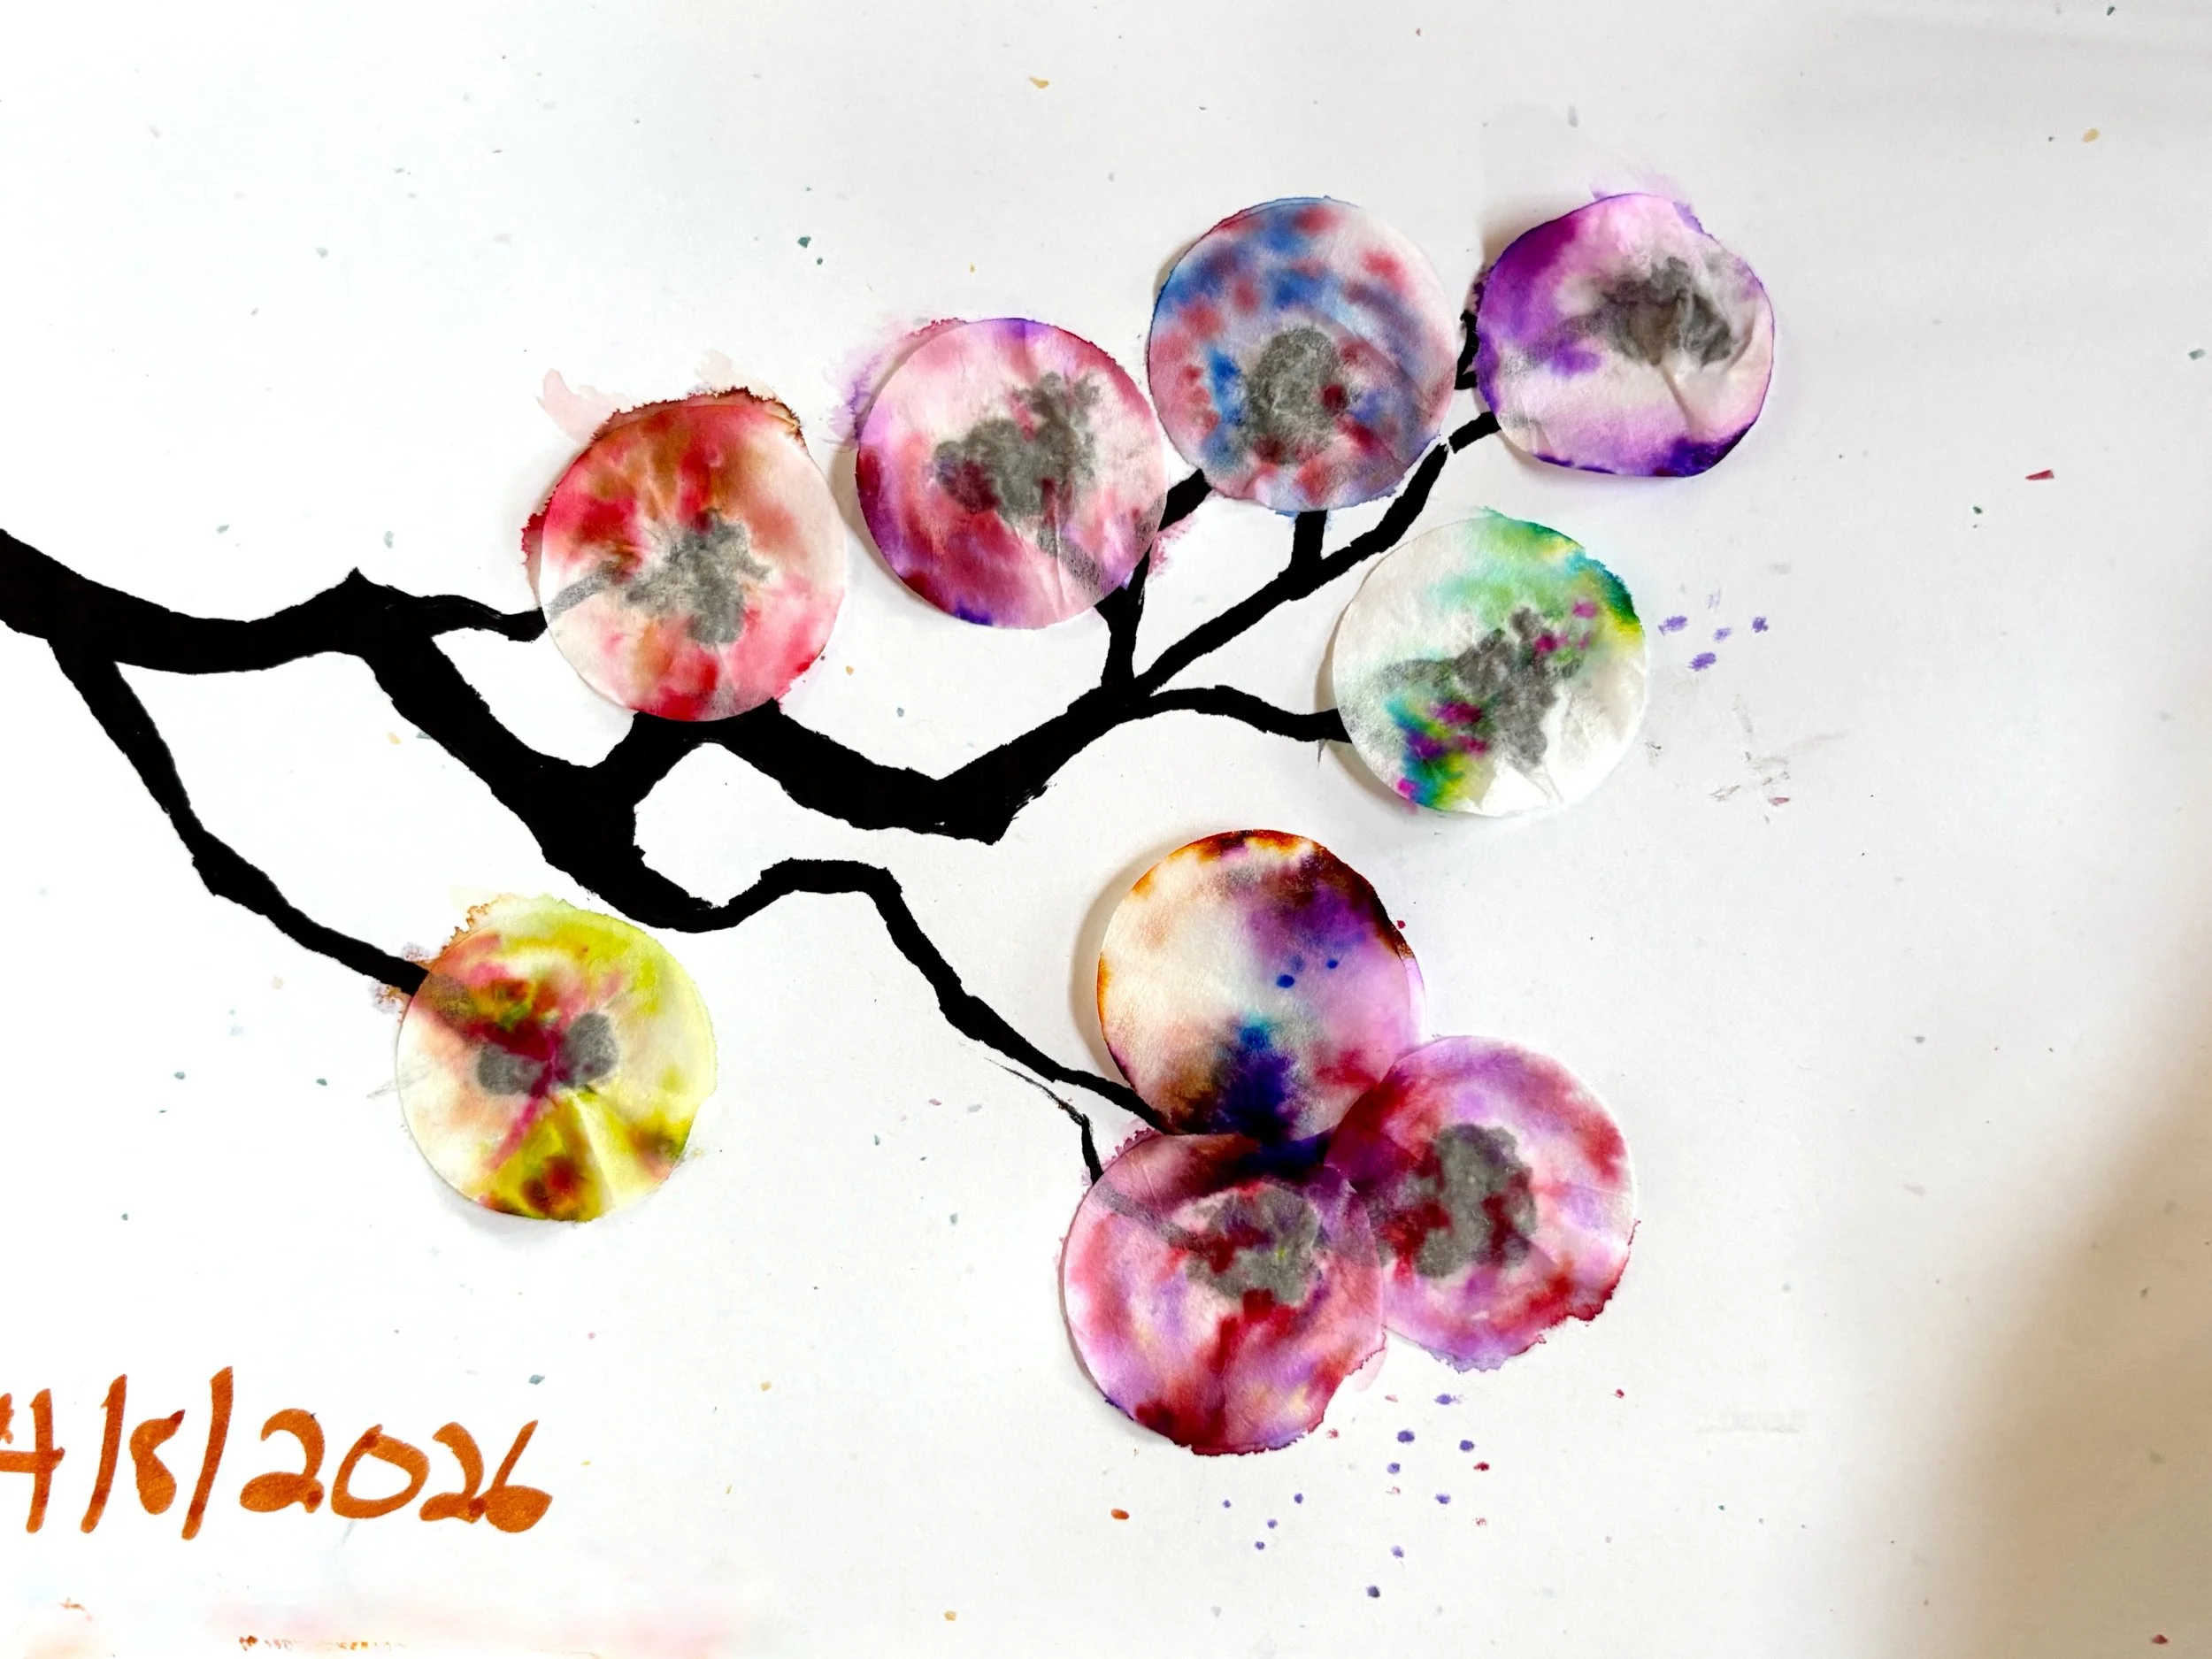
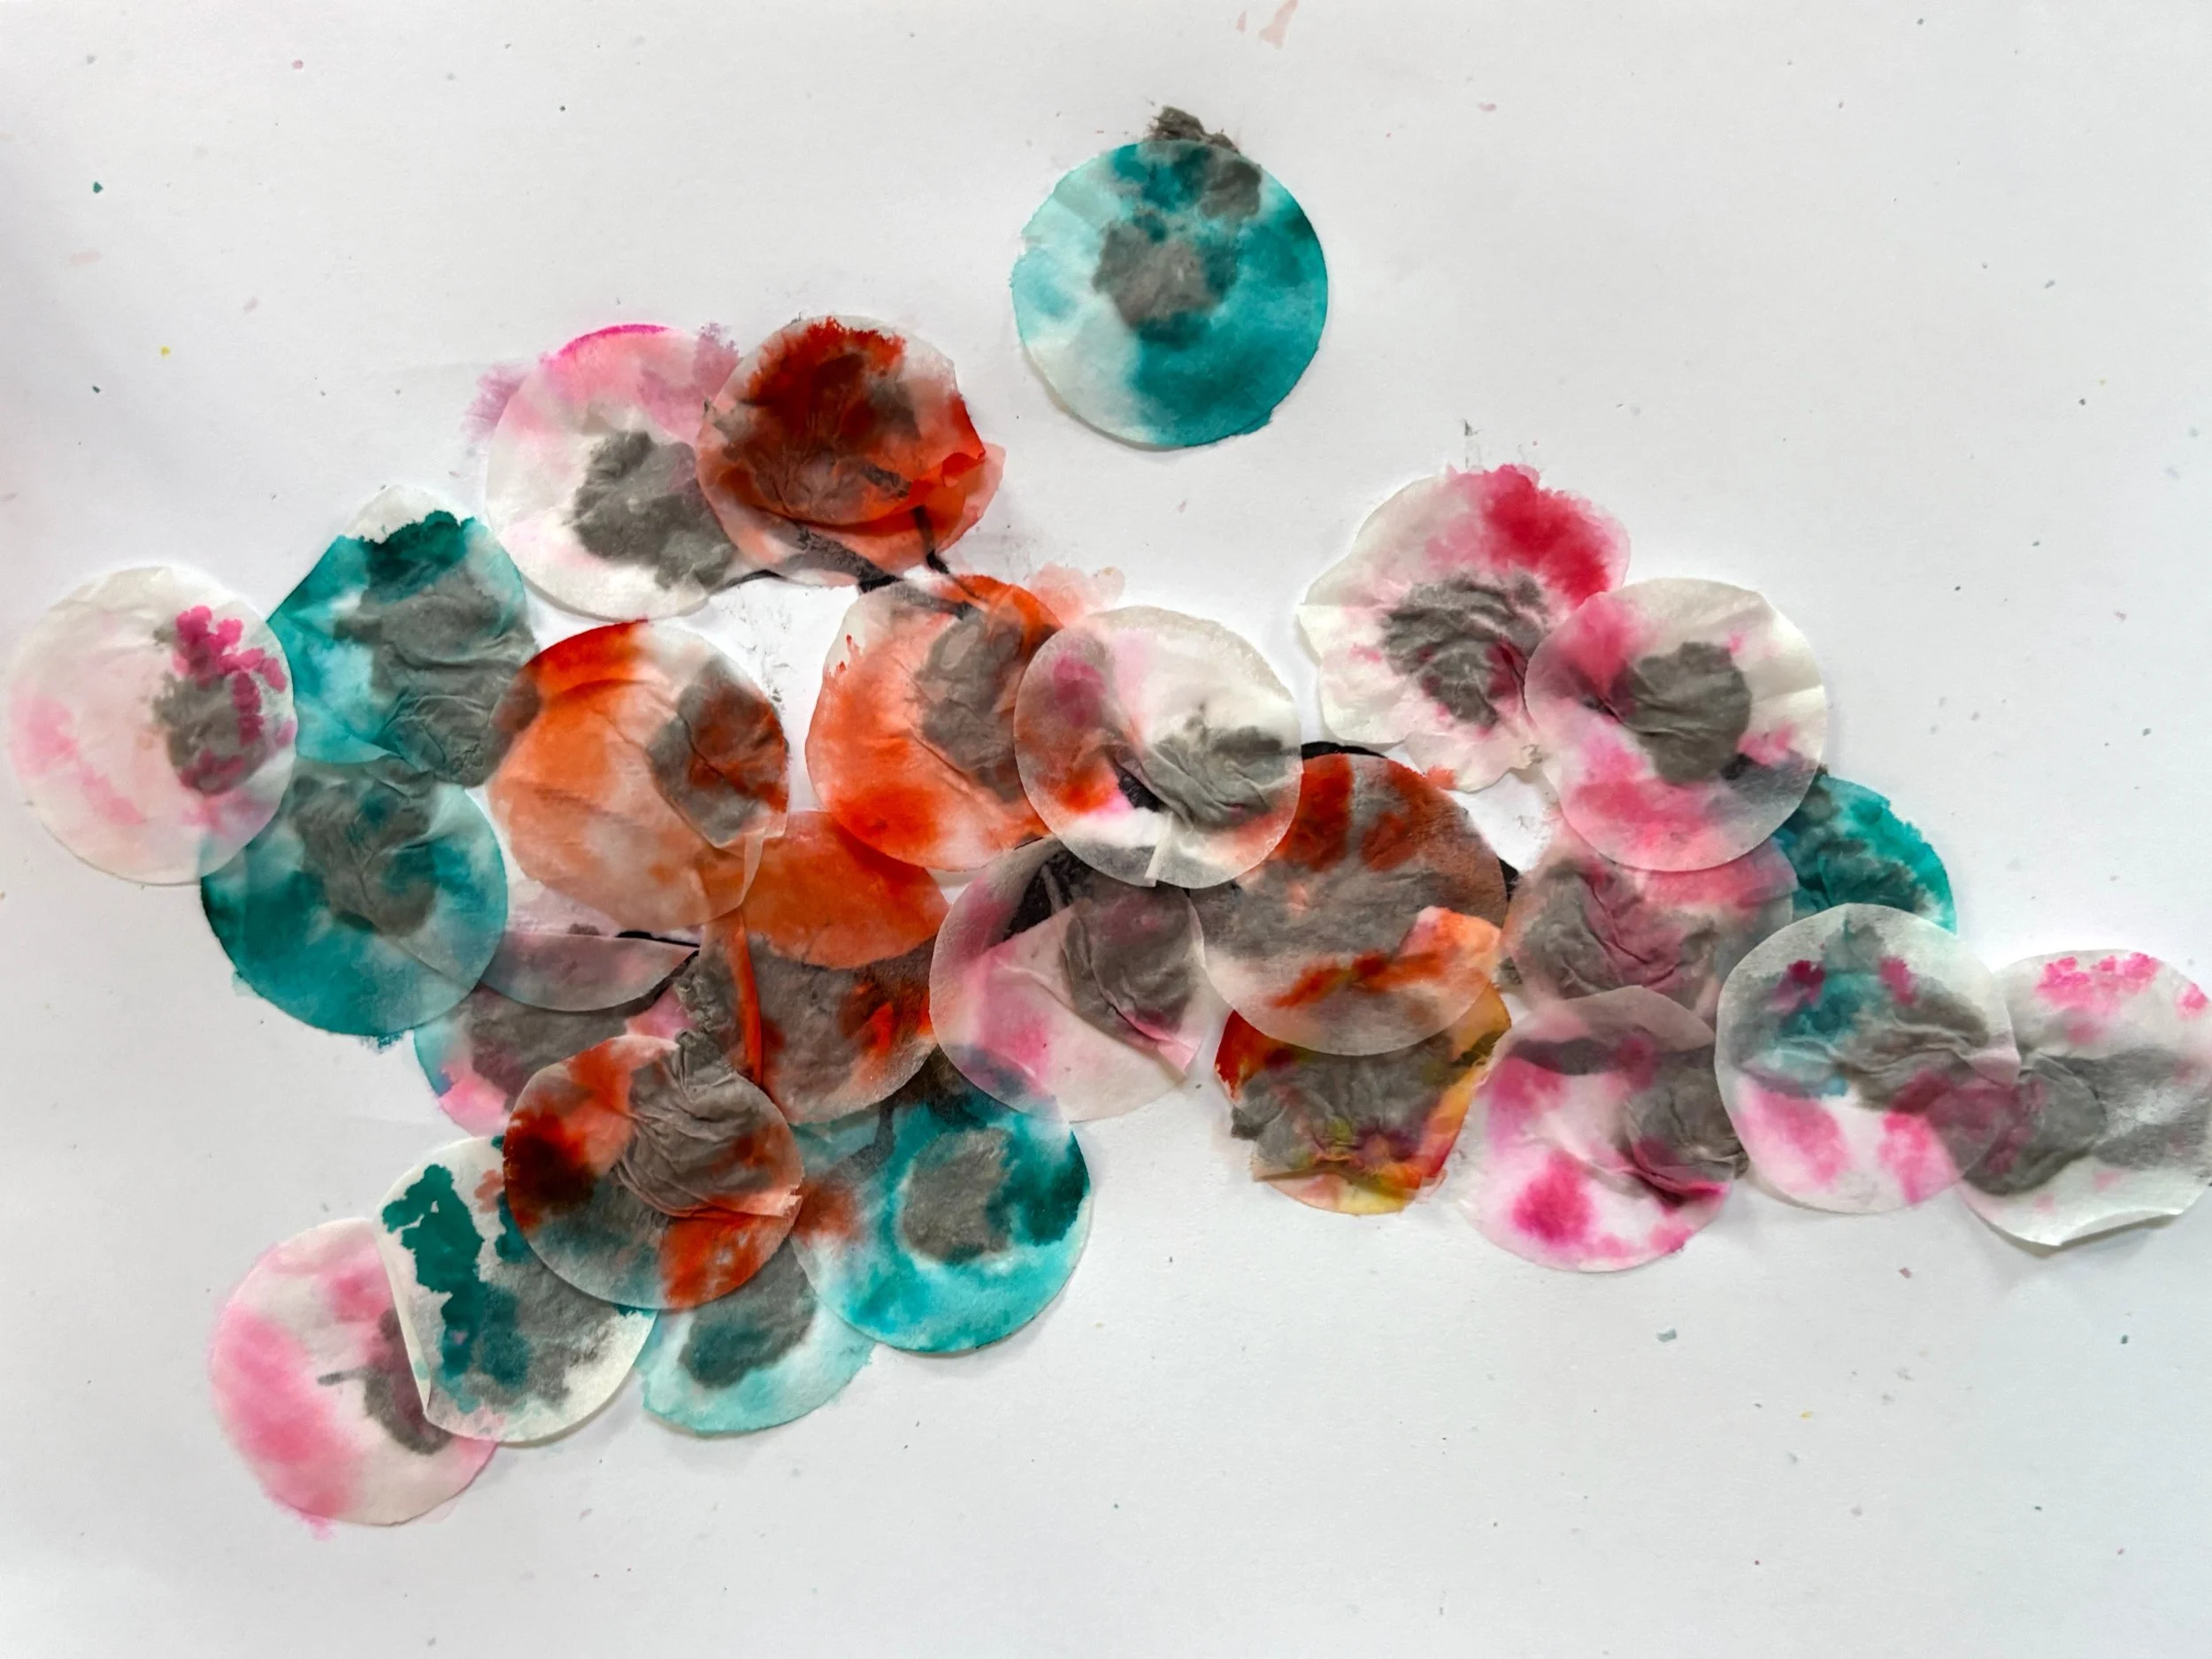
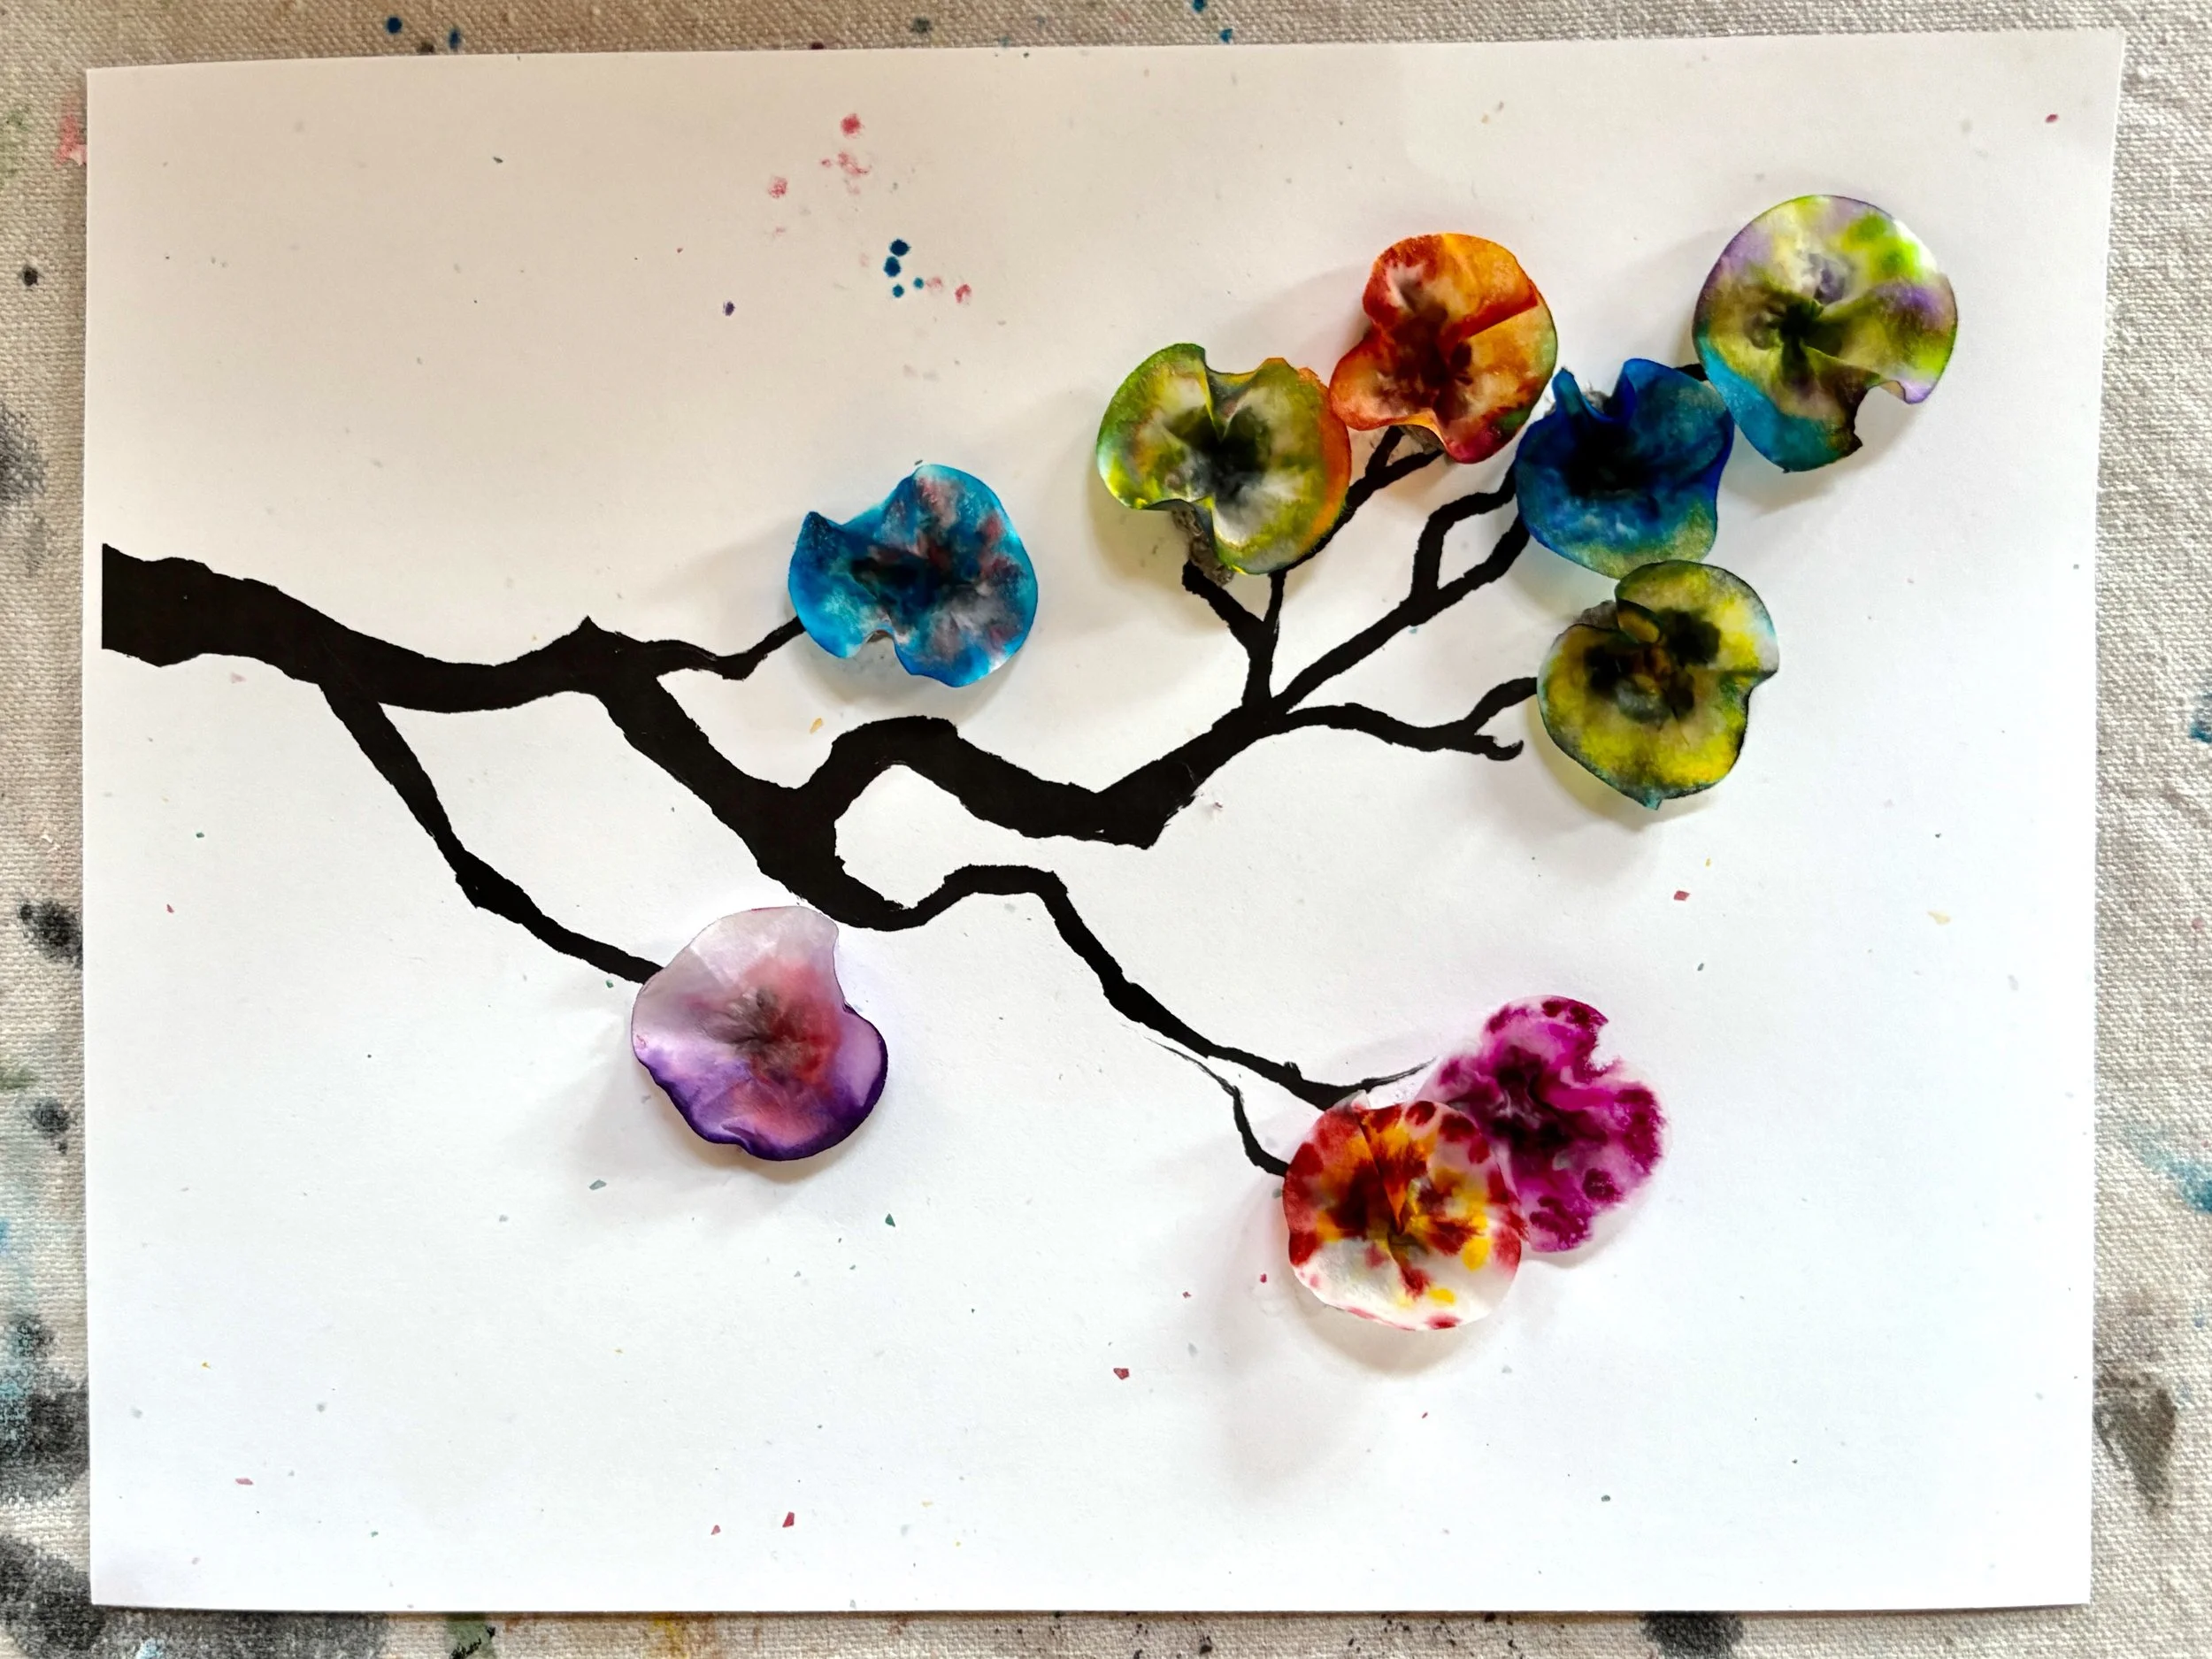
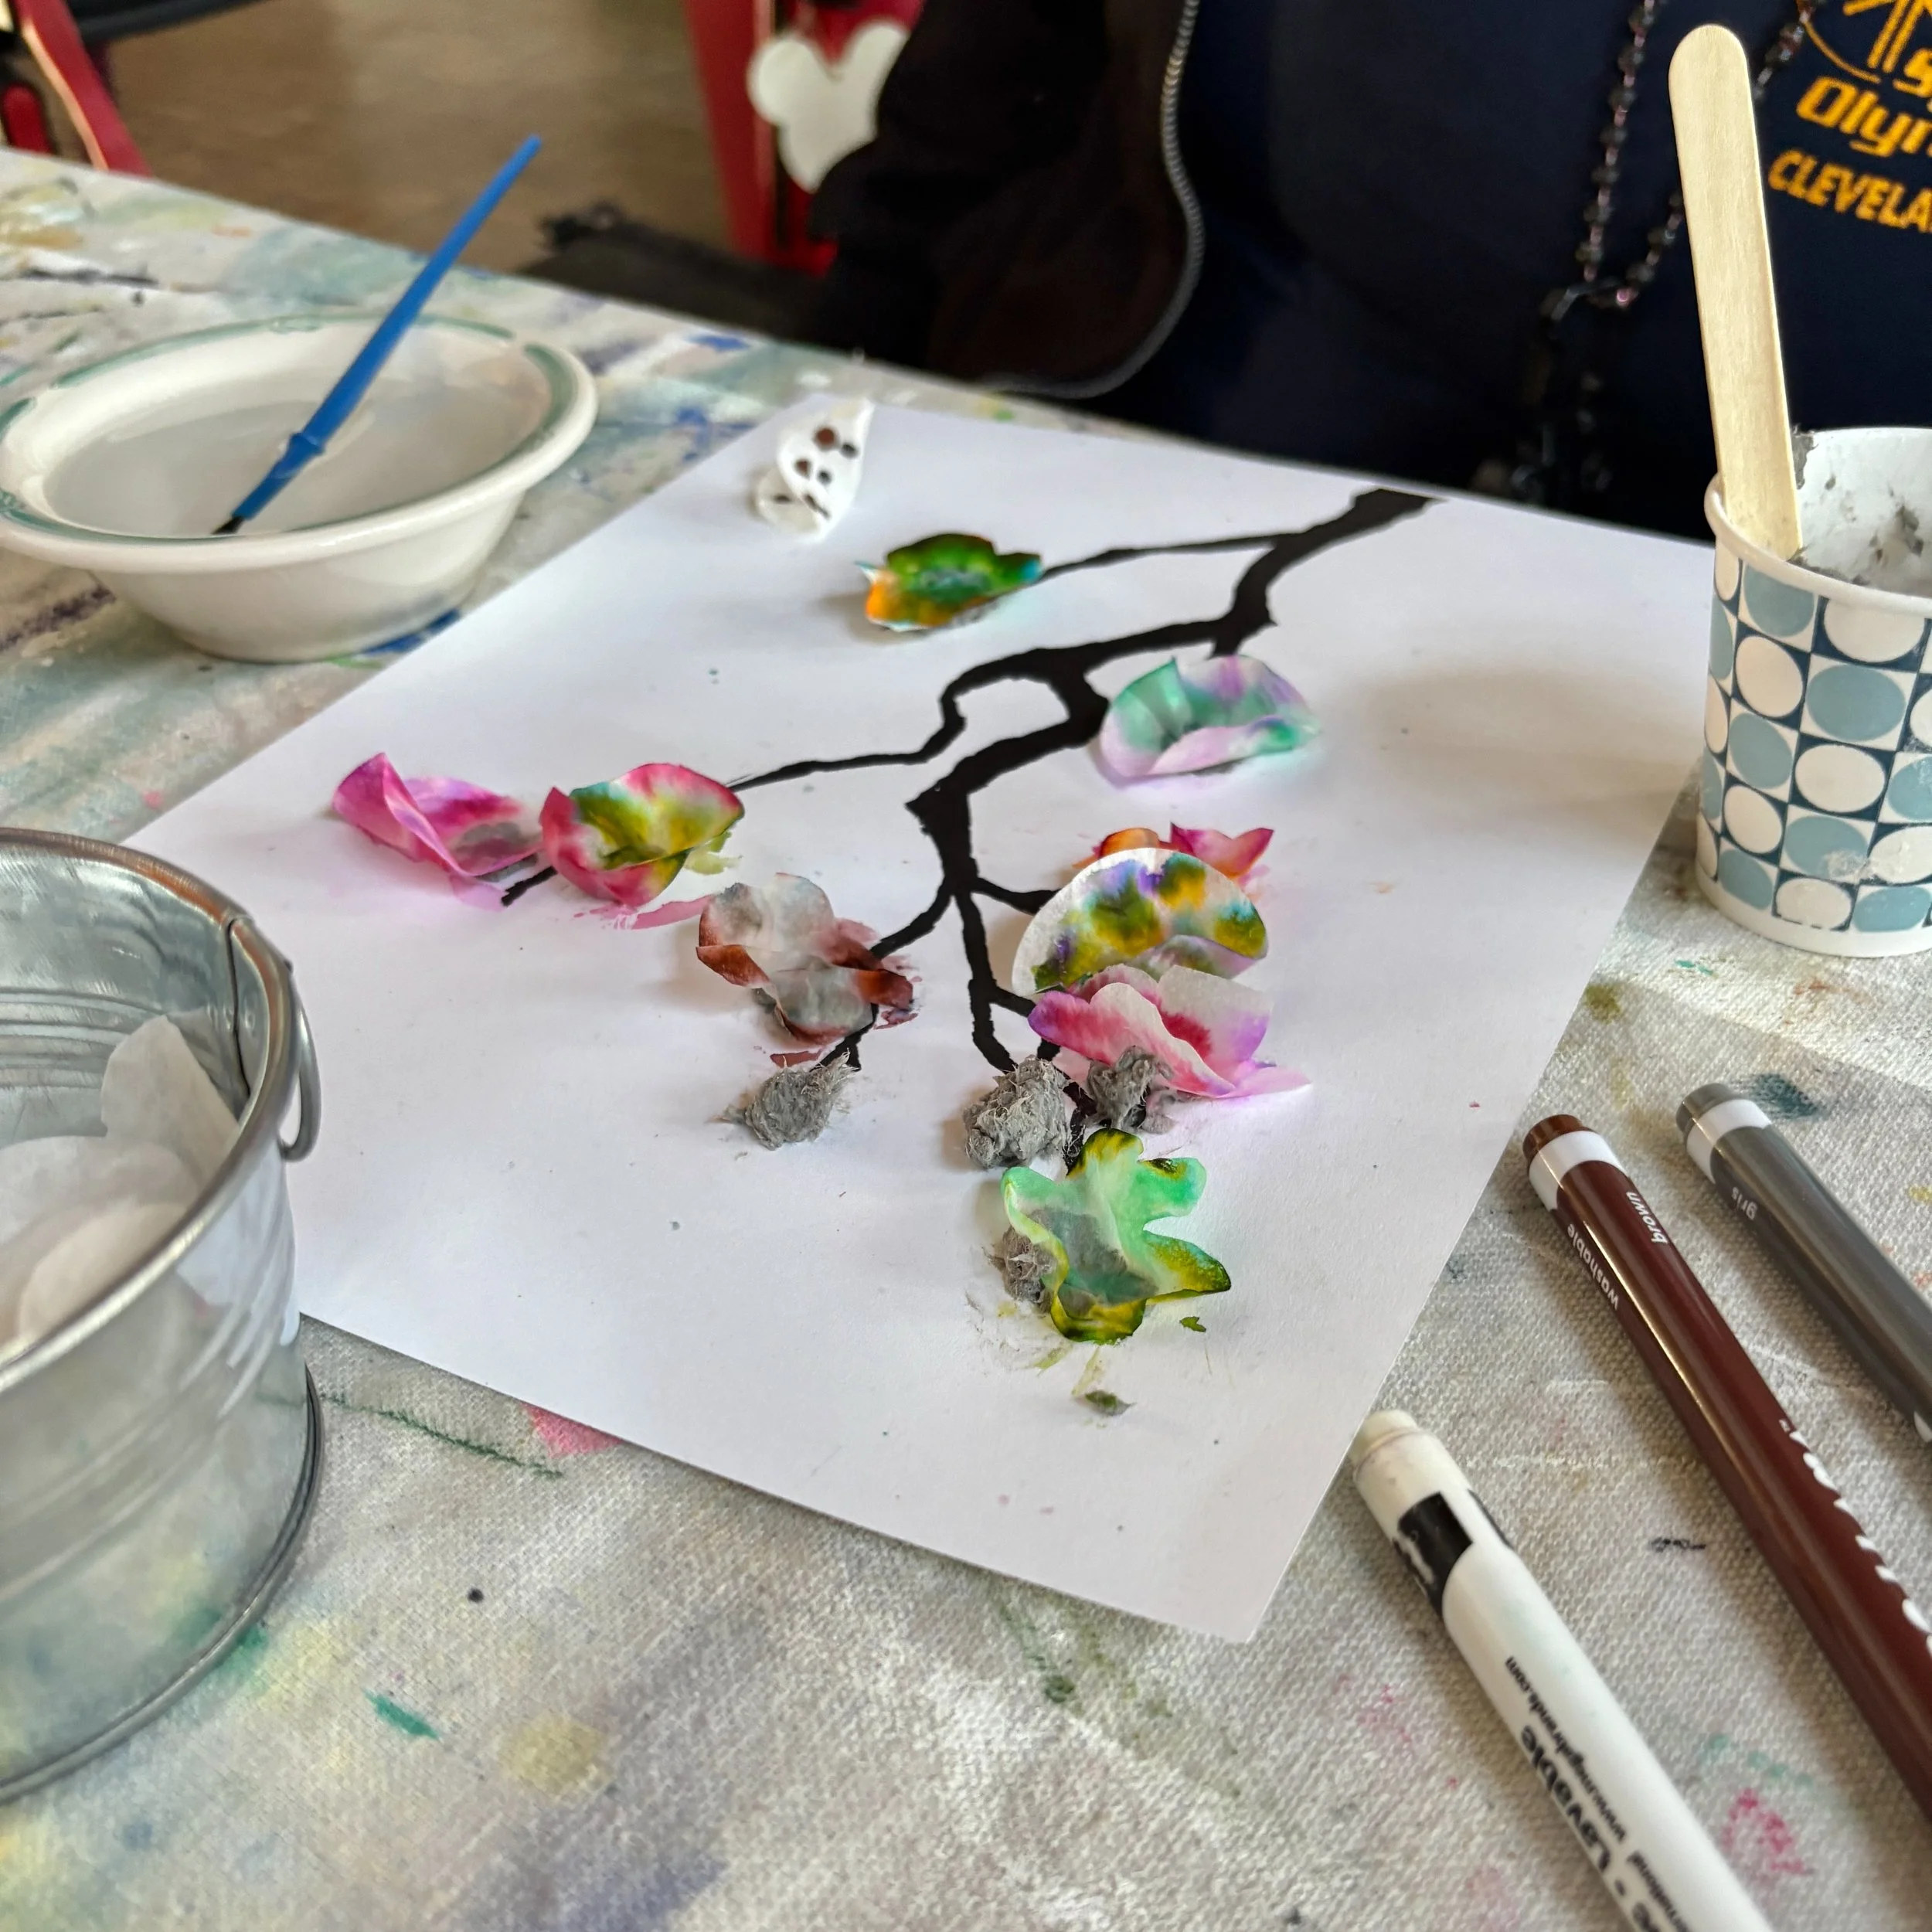
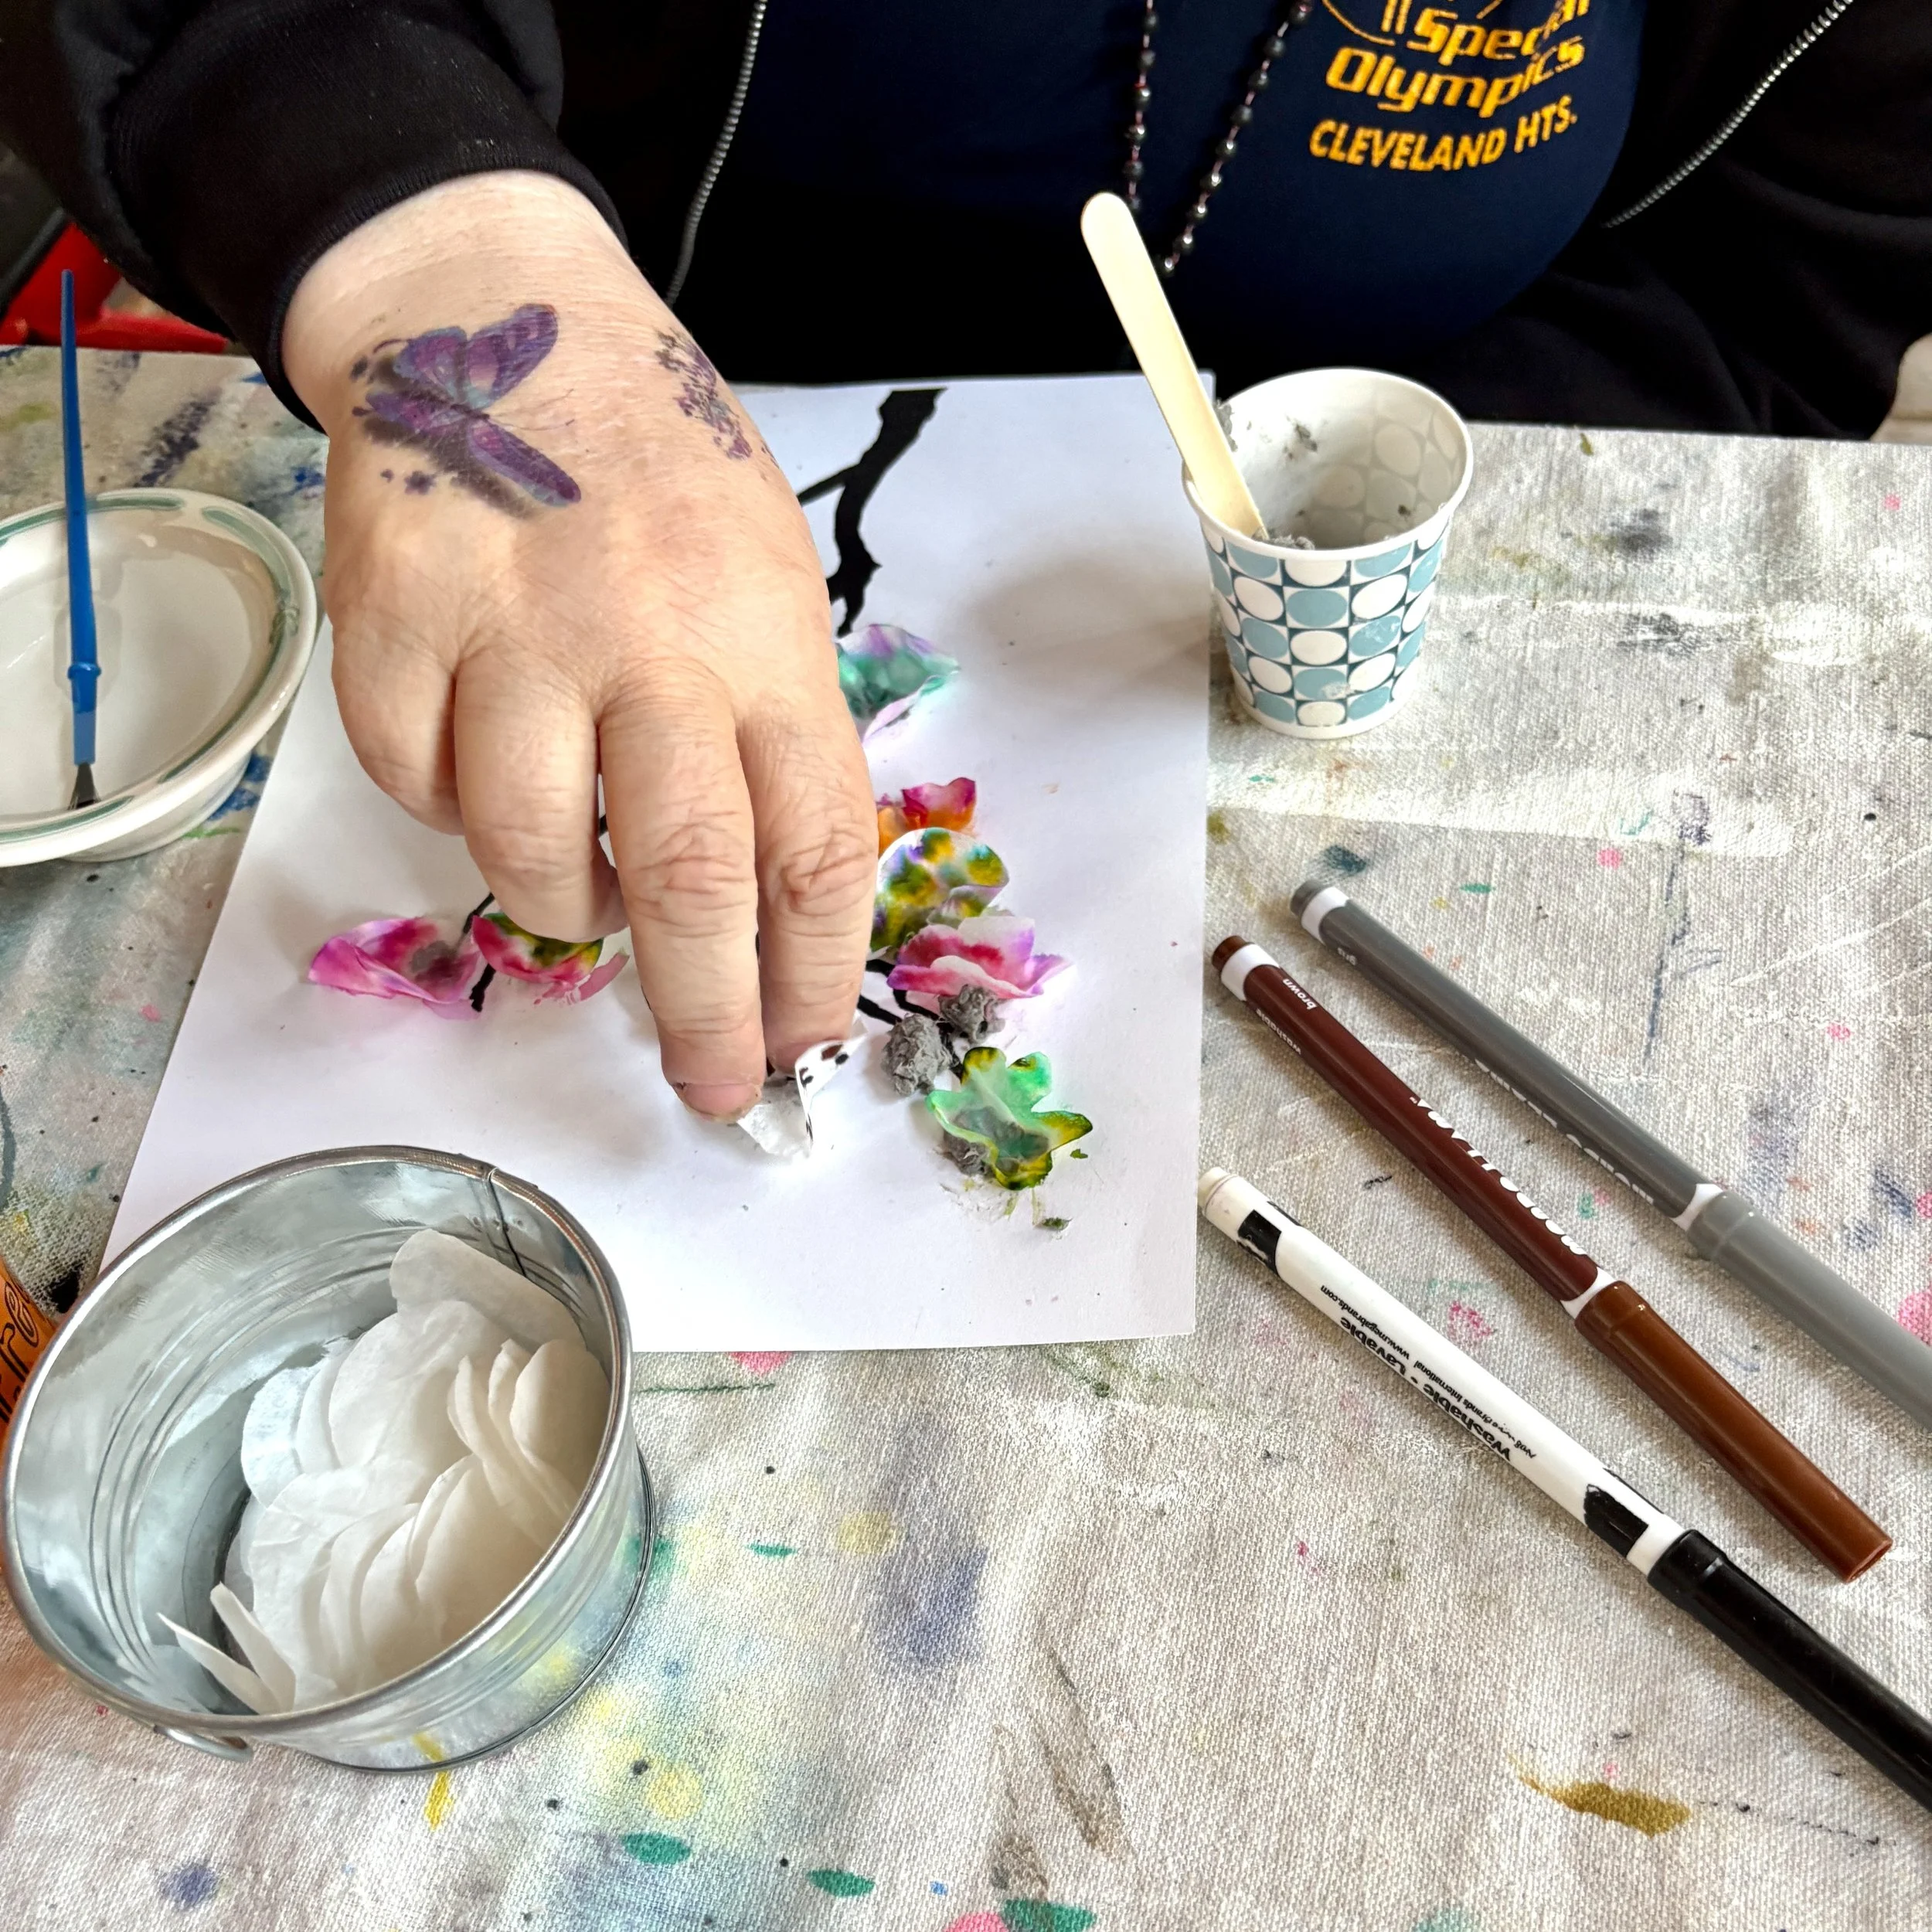
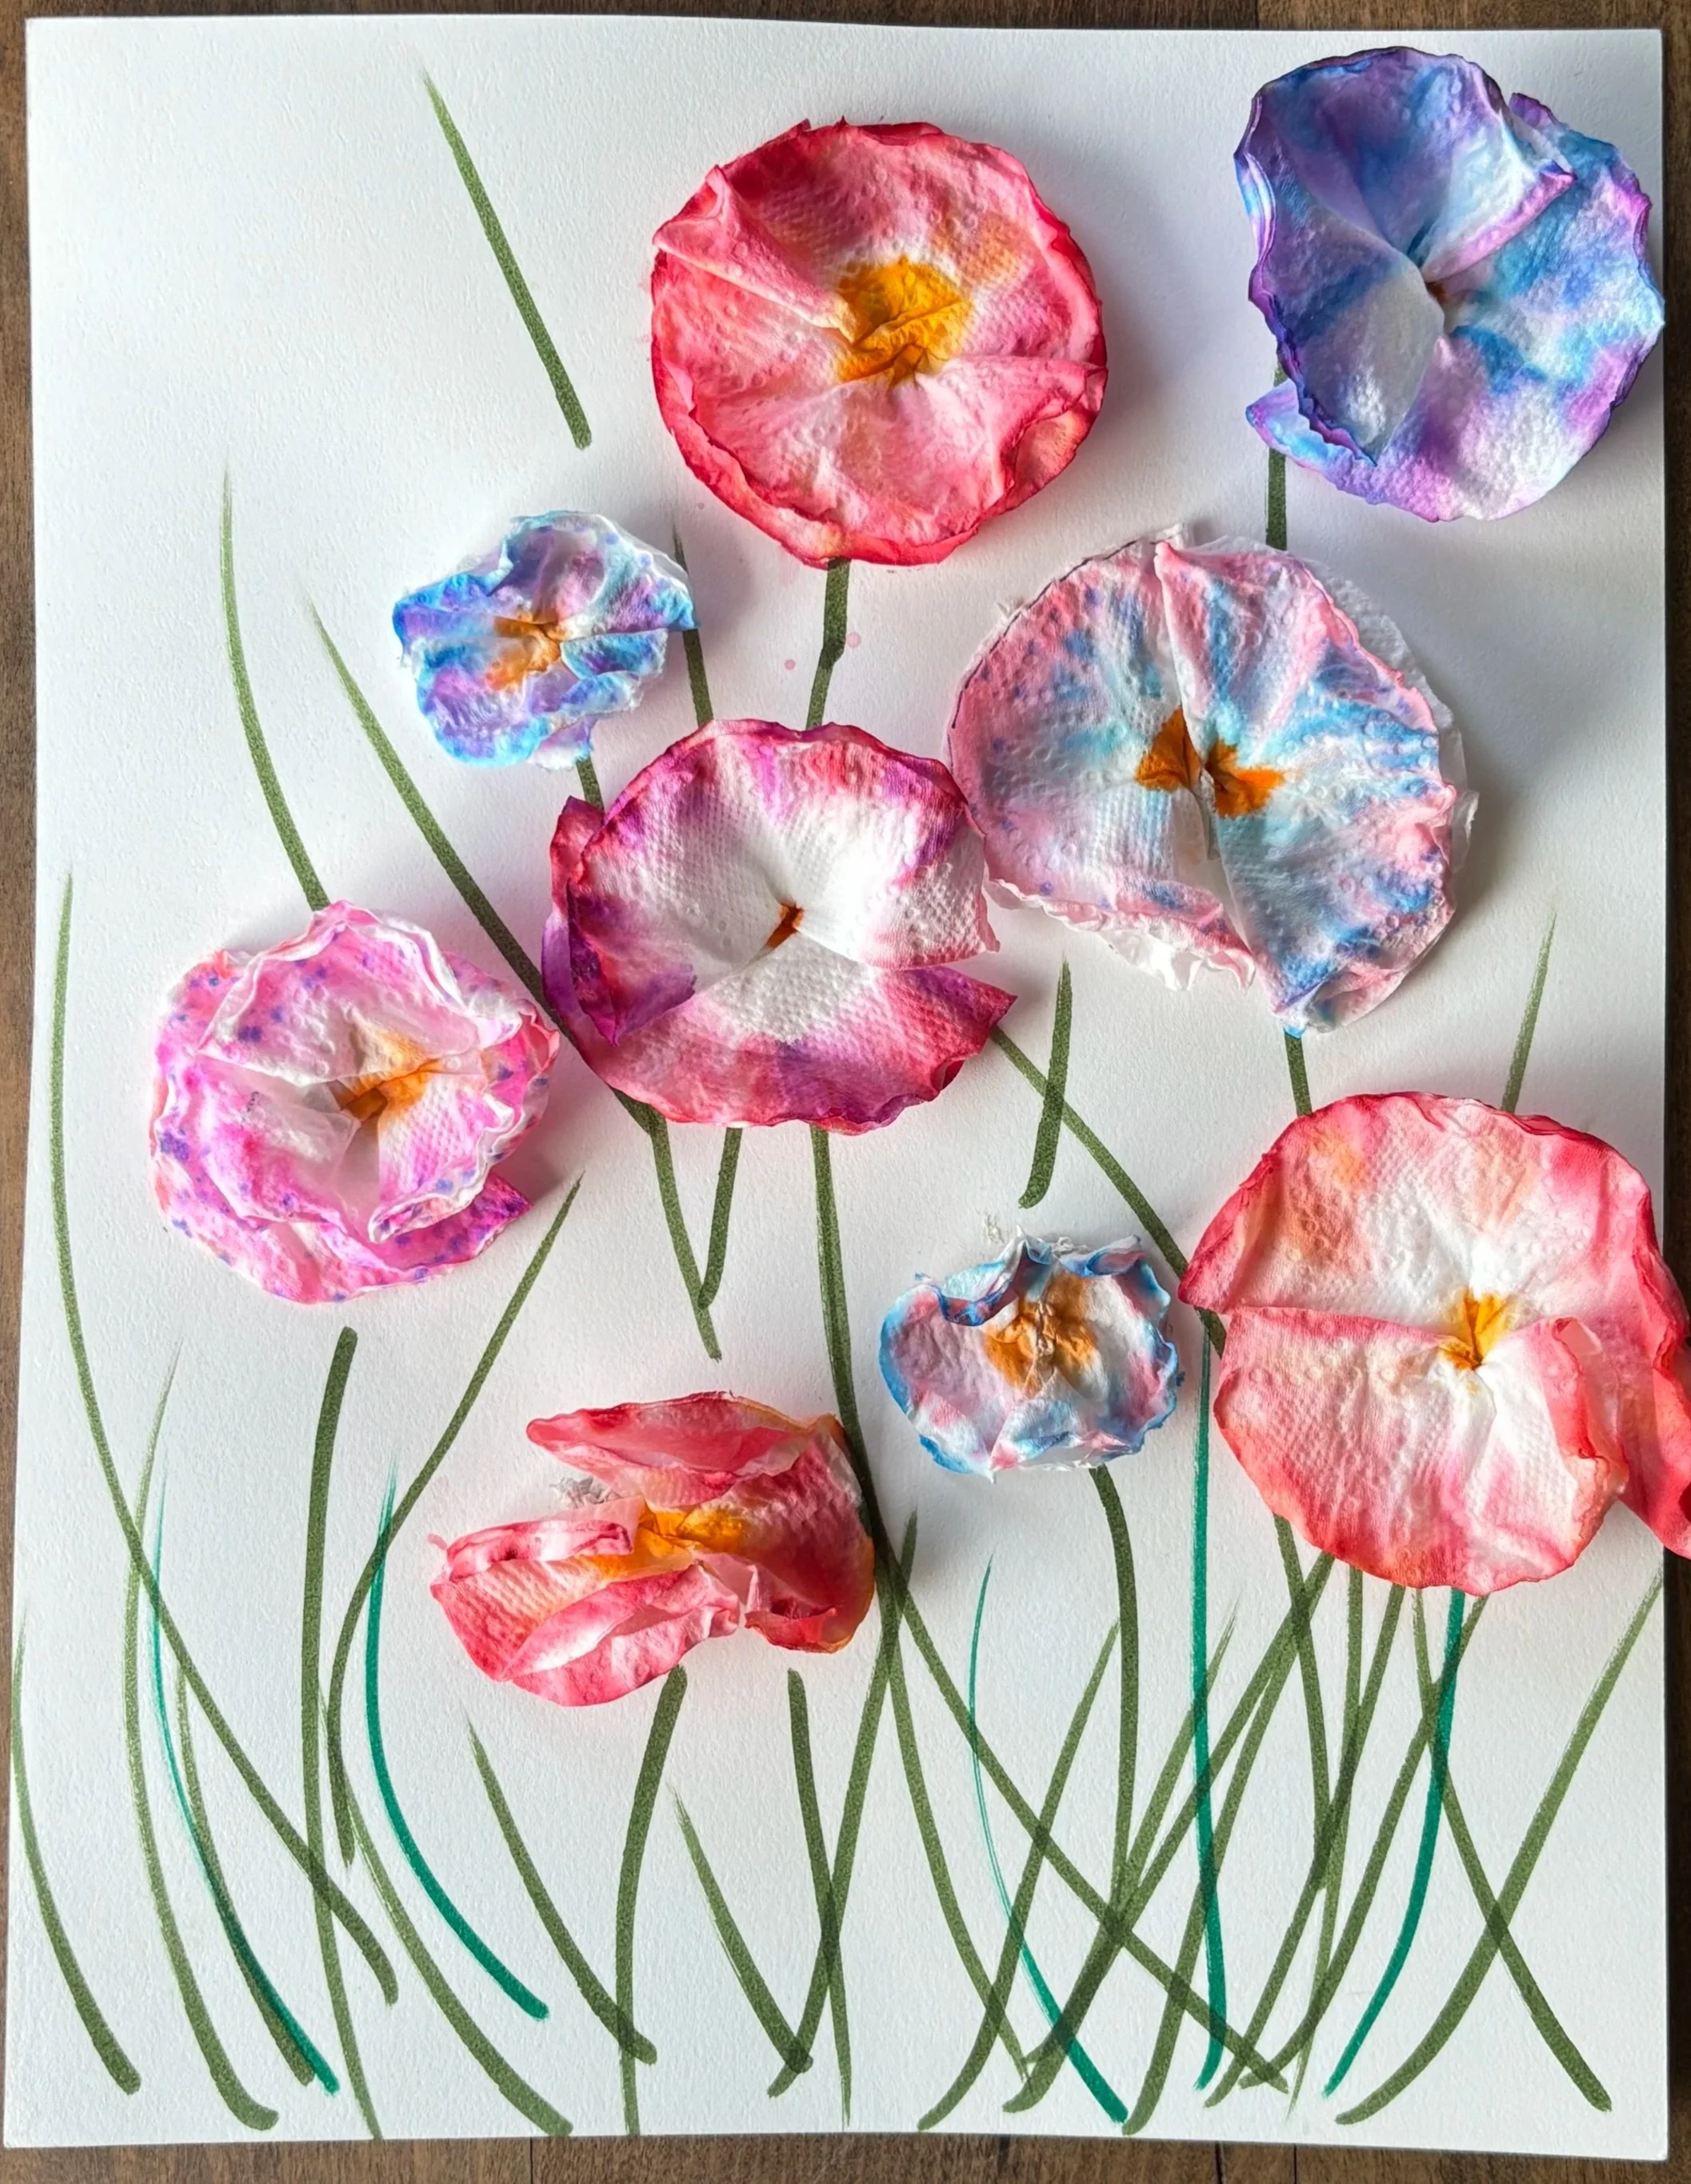
I made changes because toilet paper has to be hand cut into circles. Using coffee filters and a hole punch is faster to prep, I was just given a bunch of old coffee filters, and most of the participants had done the toilet paper version the previous year so I wanted to give them something a little different. Also, it was cherry blossom season.
Workshop Gallery
Paint the inside of the box.
I found that 1 solid color works best for the splatters to show.
Splatter paint.
I added a bit of water to craft paints. Small plastic brushes worked well for creating splatters.
Splatter Methods-
Tapping brush full of paint with a finger.
Tapping the brush full of paint on the side of the box.
Most people were able to do the spatter portion outside, I have one group with physical issues. They were able to splatter at their table with the 2nd method and little mess.
Have people turn their boxes so the paint splatters in different directions.
Rationale & Resources
Other possible themes for 3D boxes: galaxy