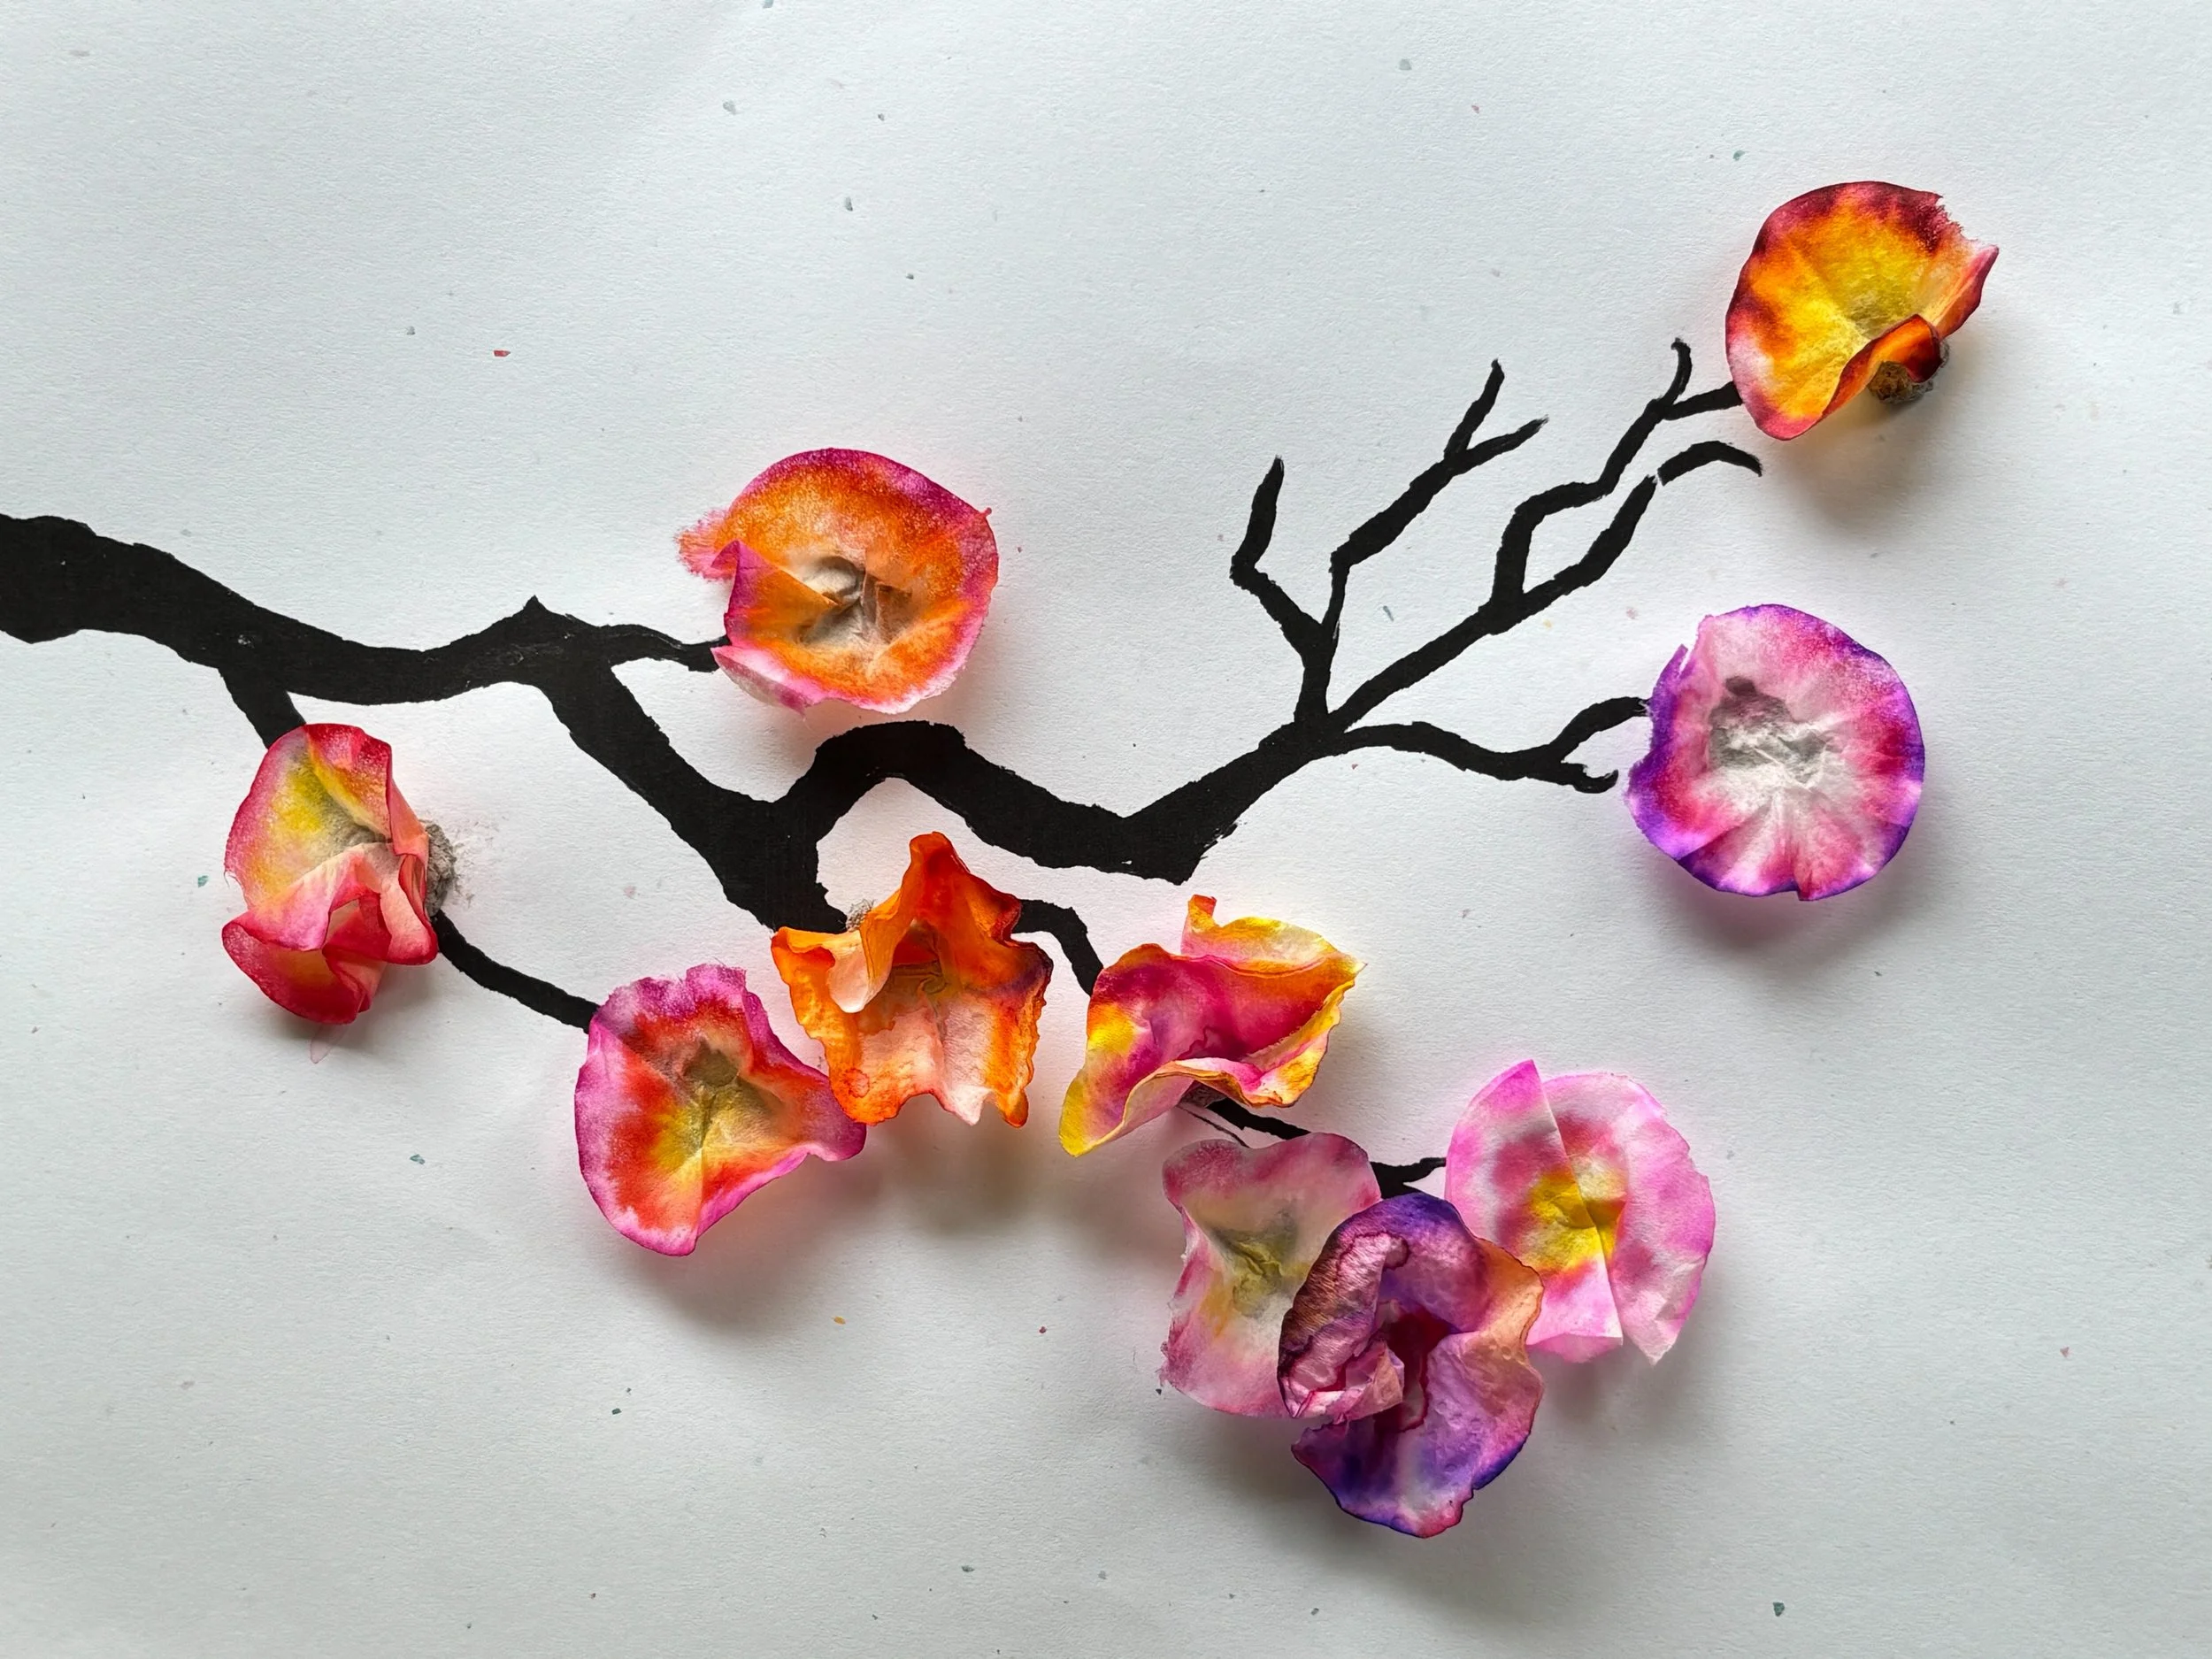
Blooming Cherry Blossoms
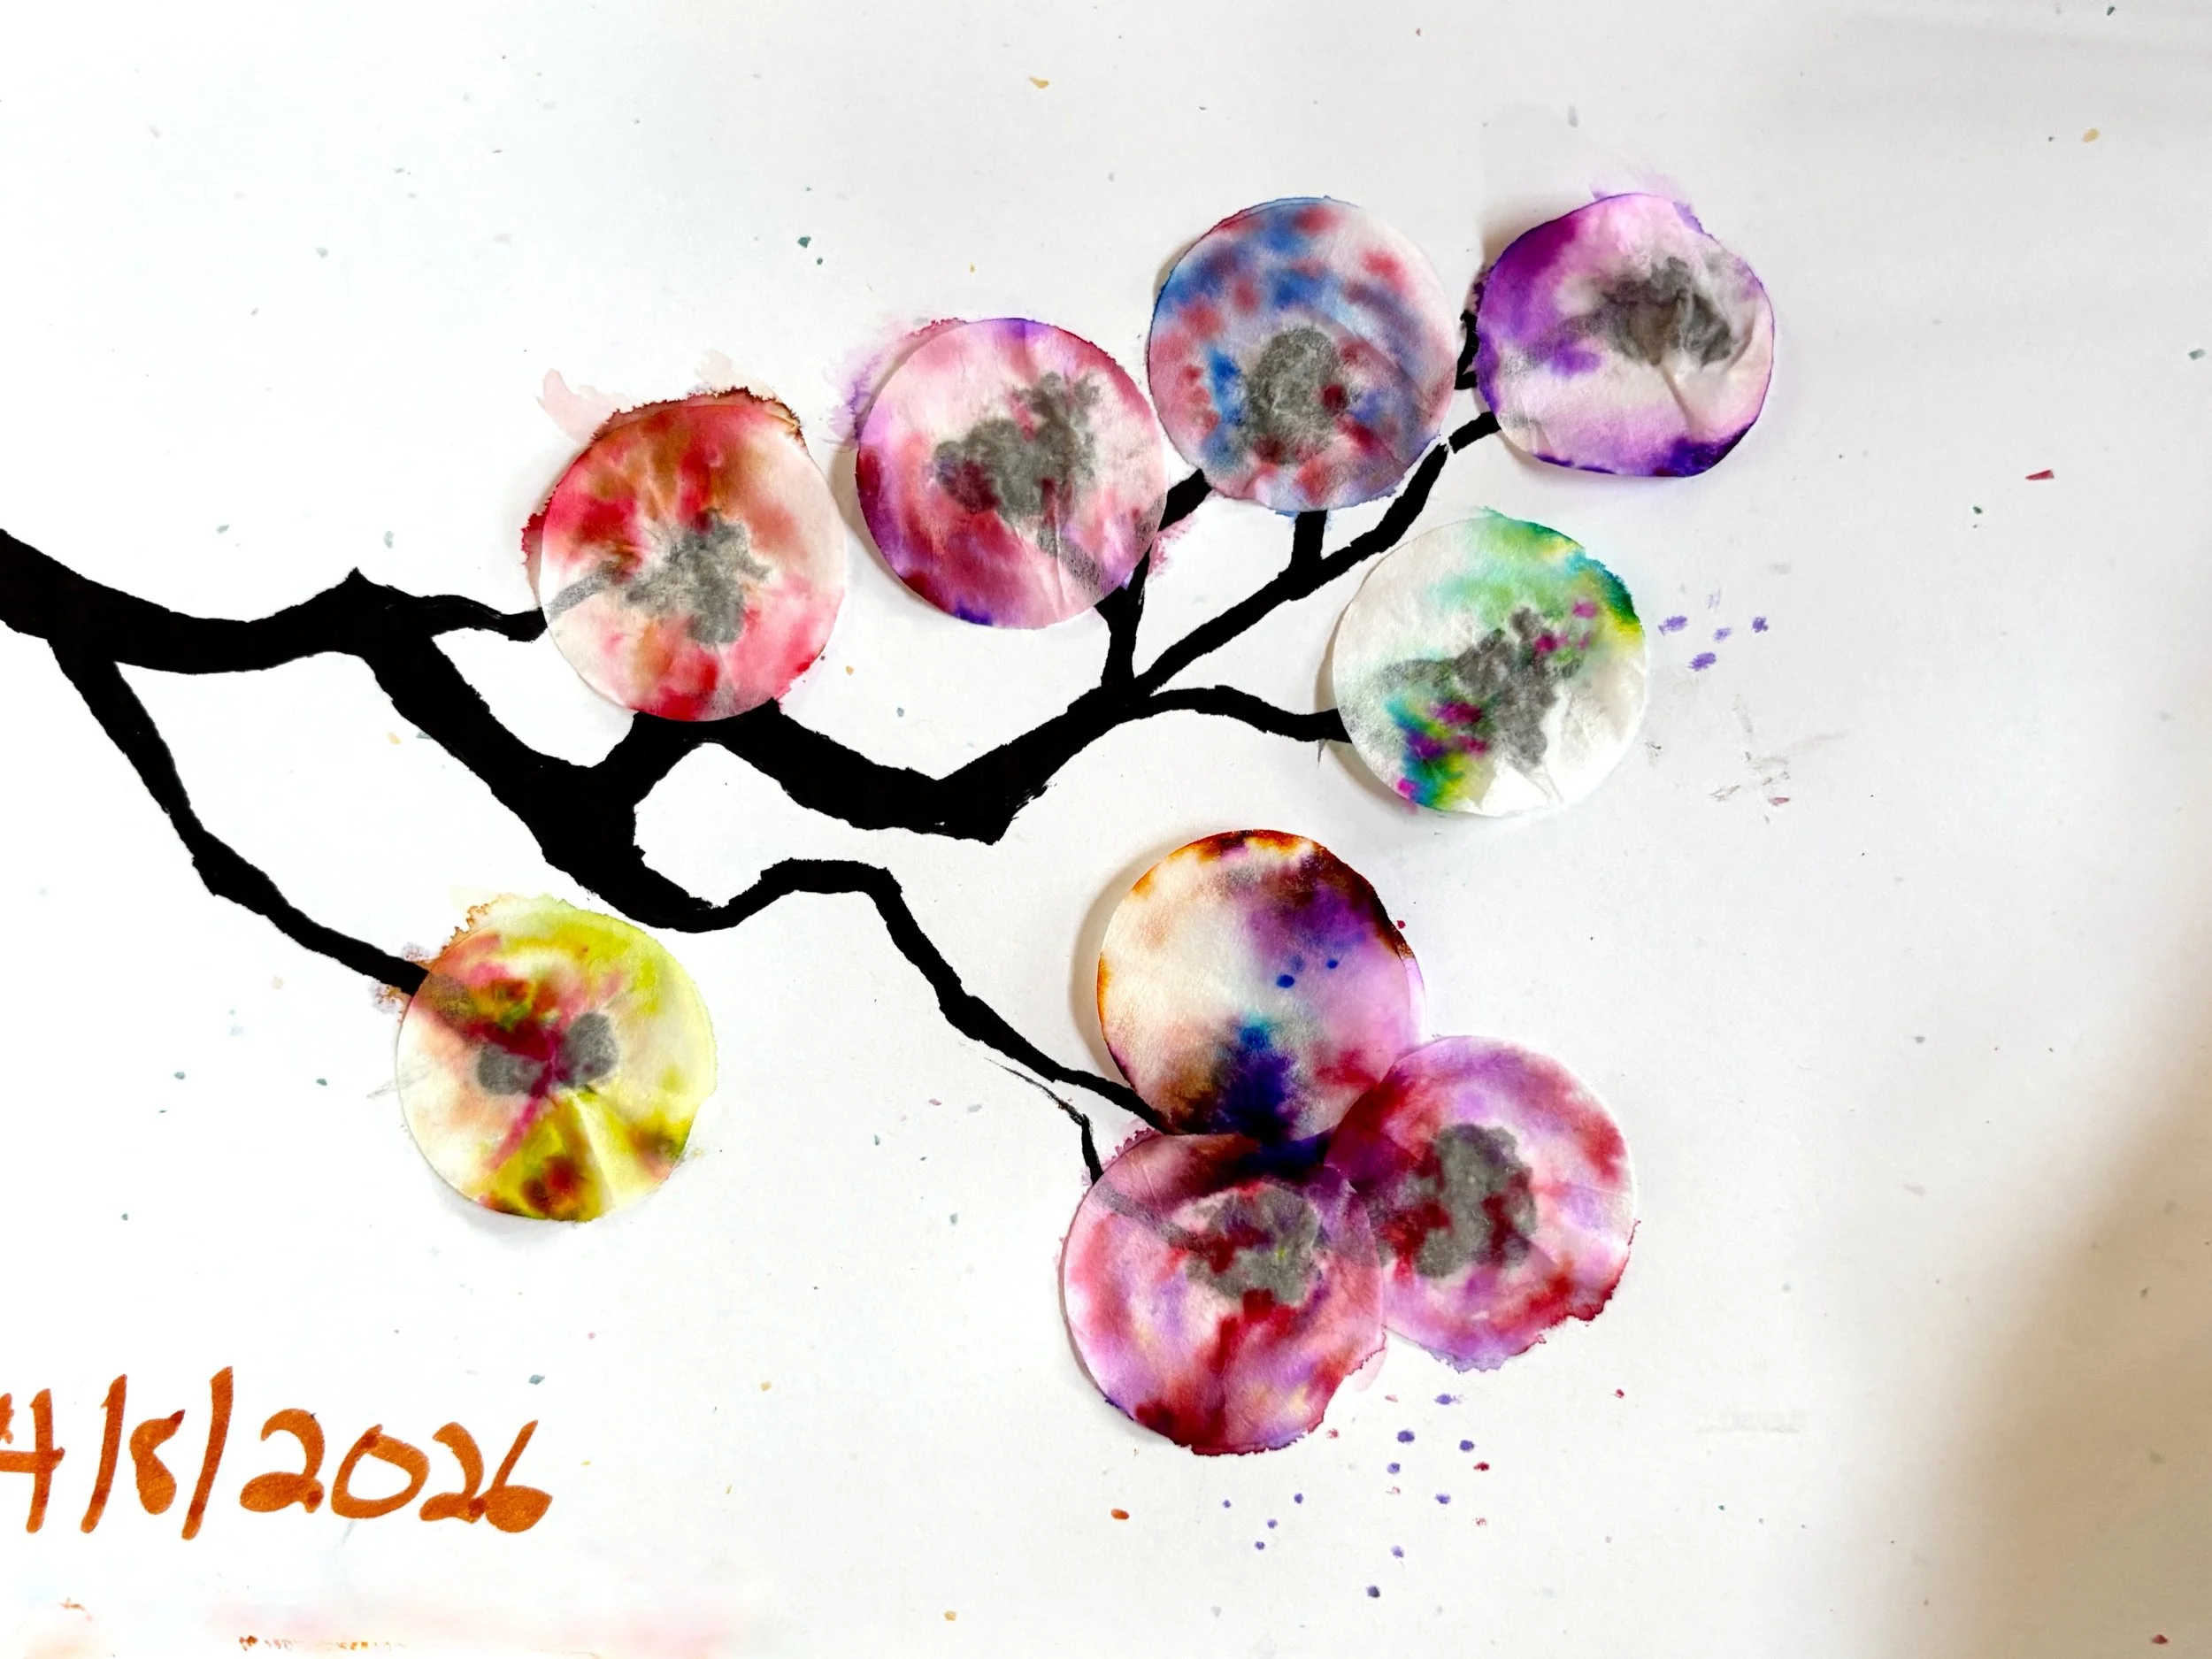
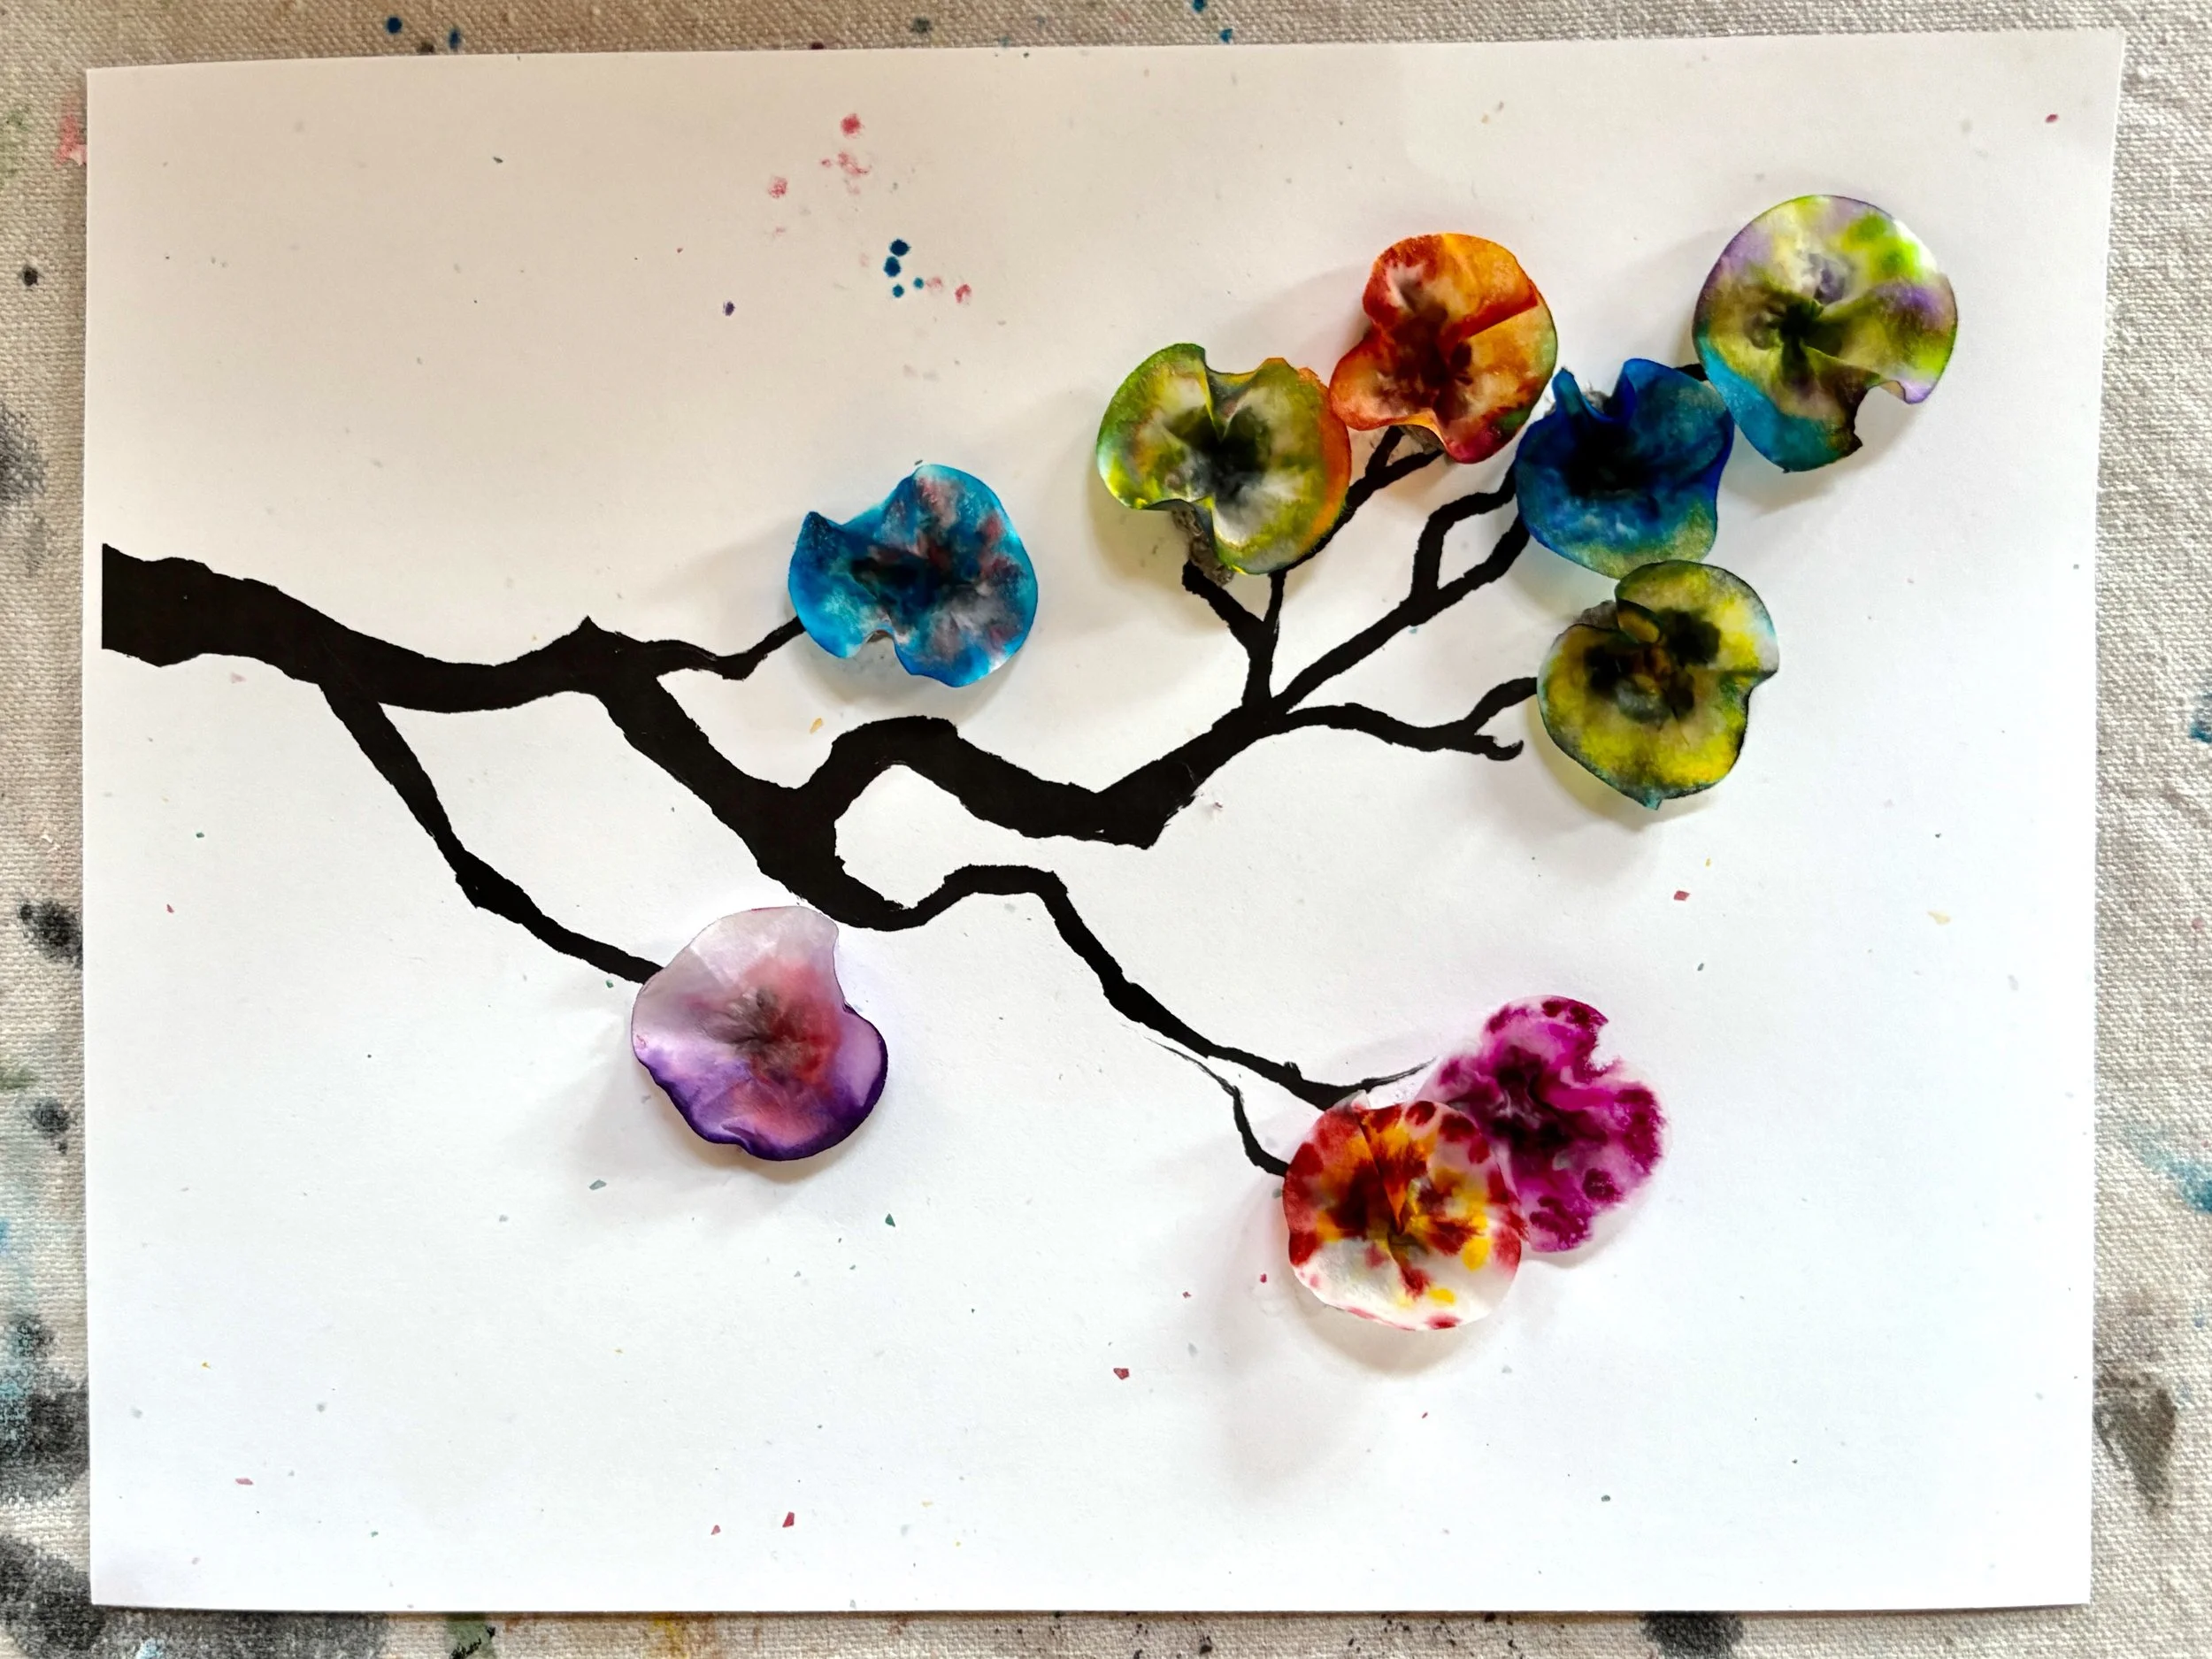
These blossoms ‘bloom’ when water meets ink and spreads through the filter paper. It’s kind of a magical process that takes several steps and a bit of patience. Participants always enjoy this project and the results they achieve.
Prep
Process
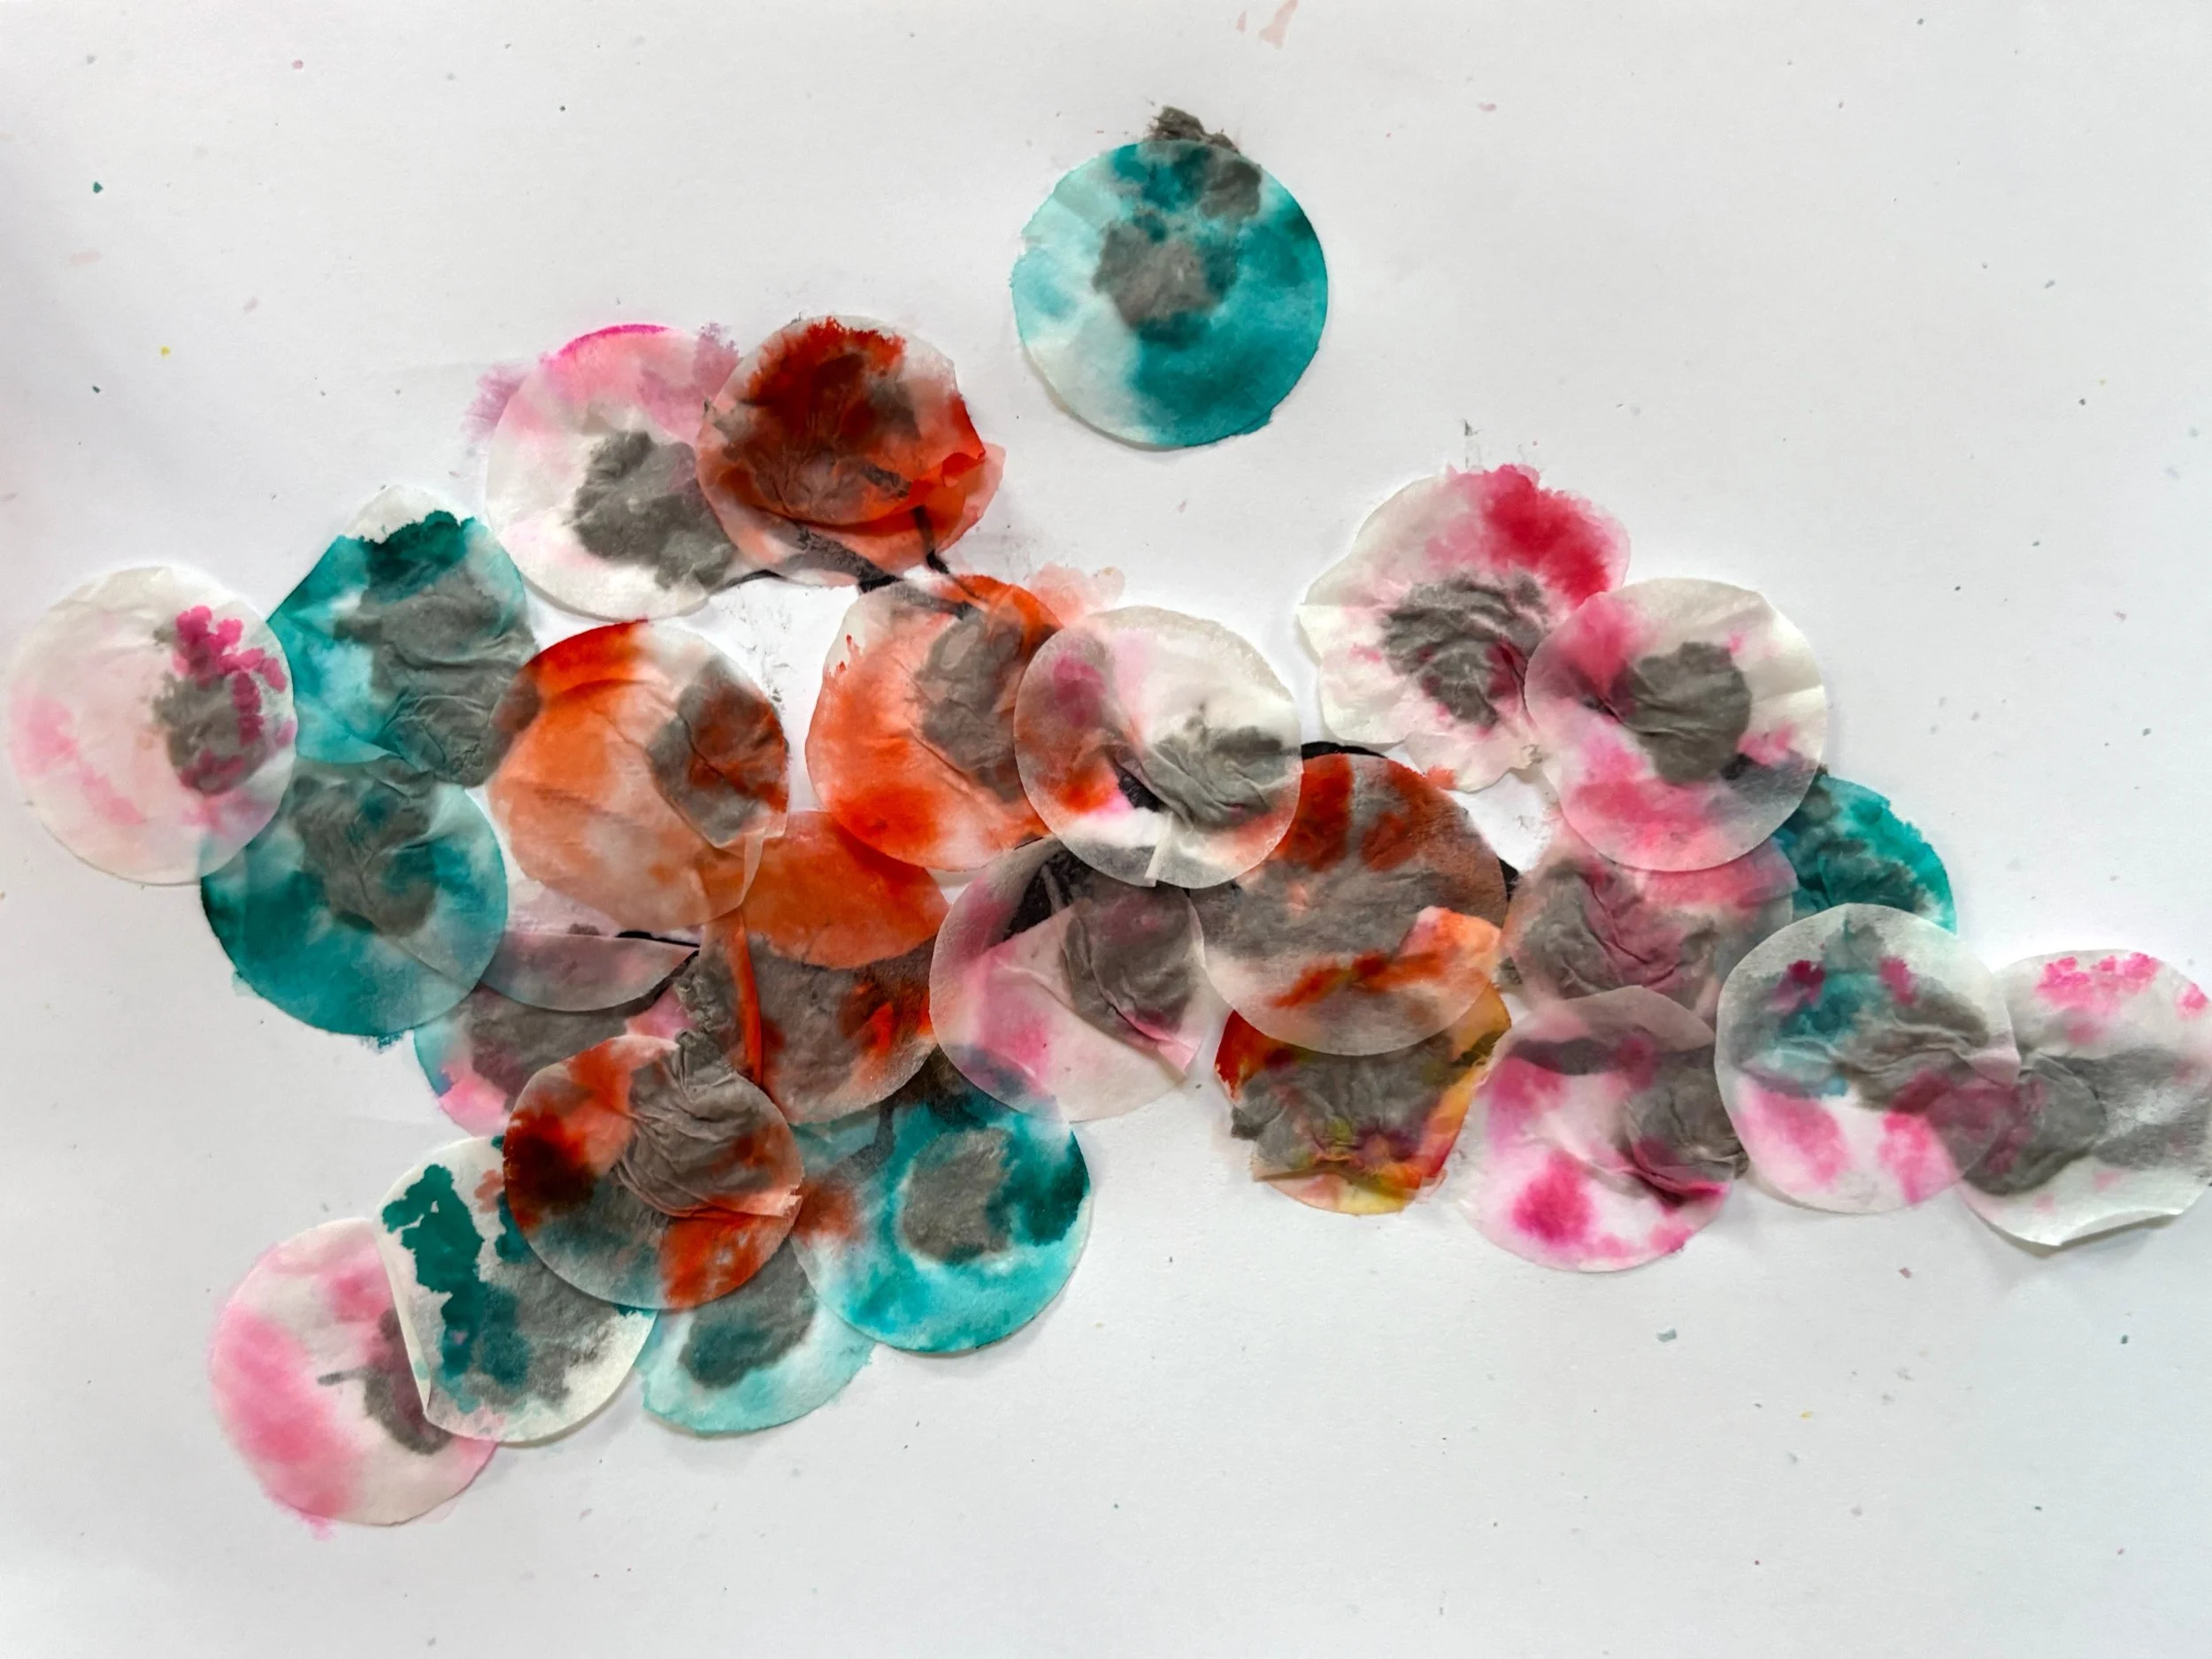
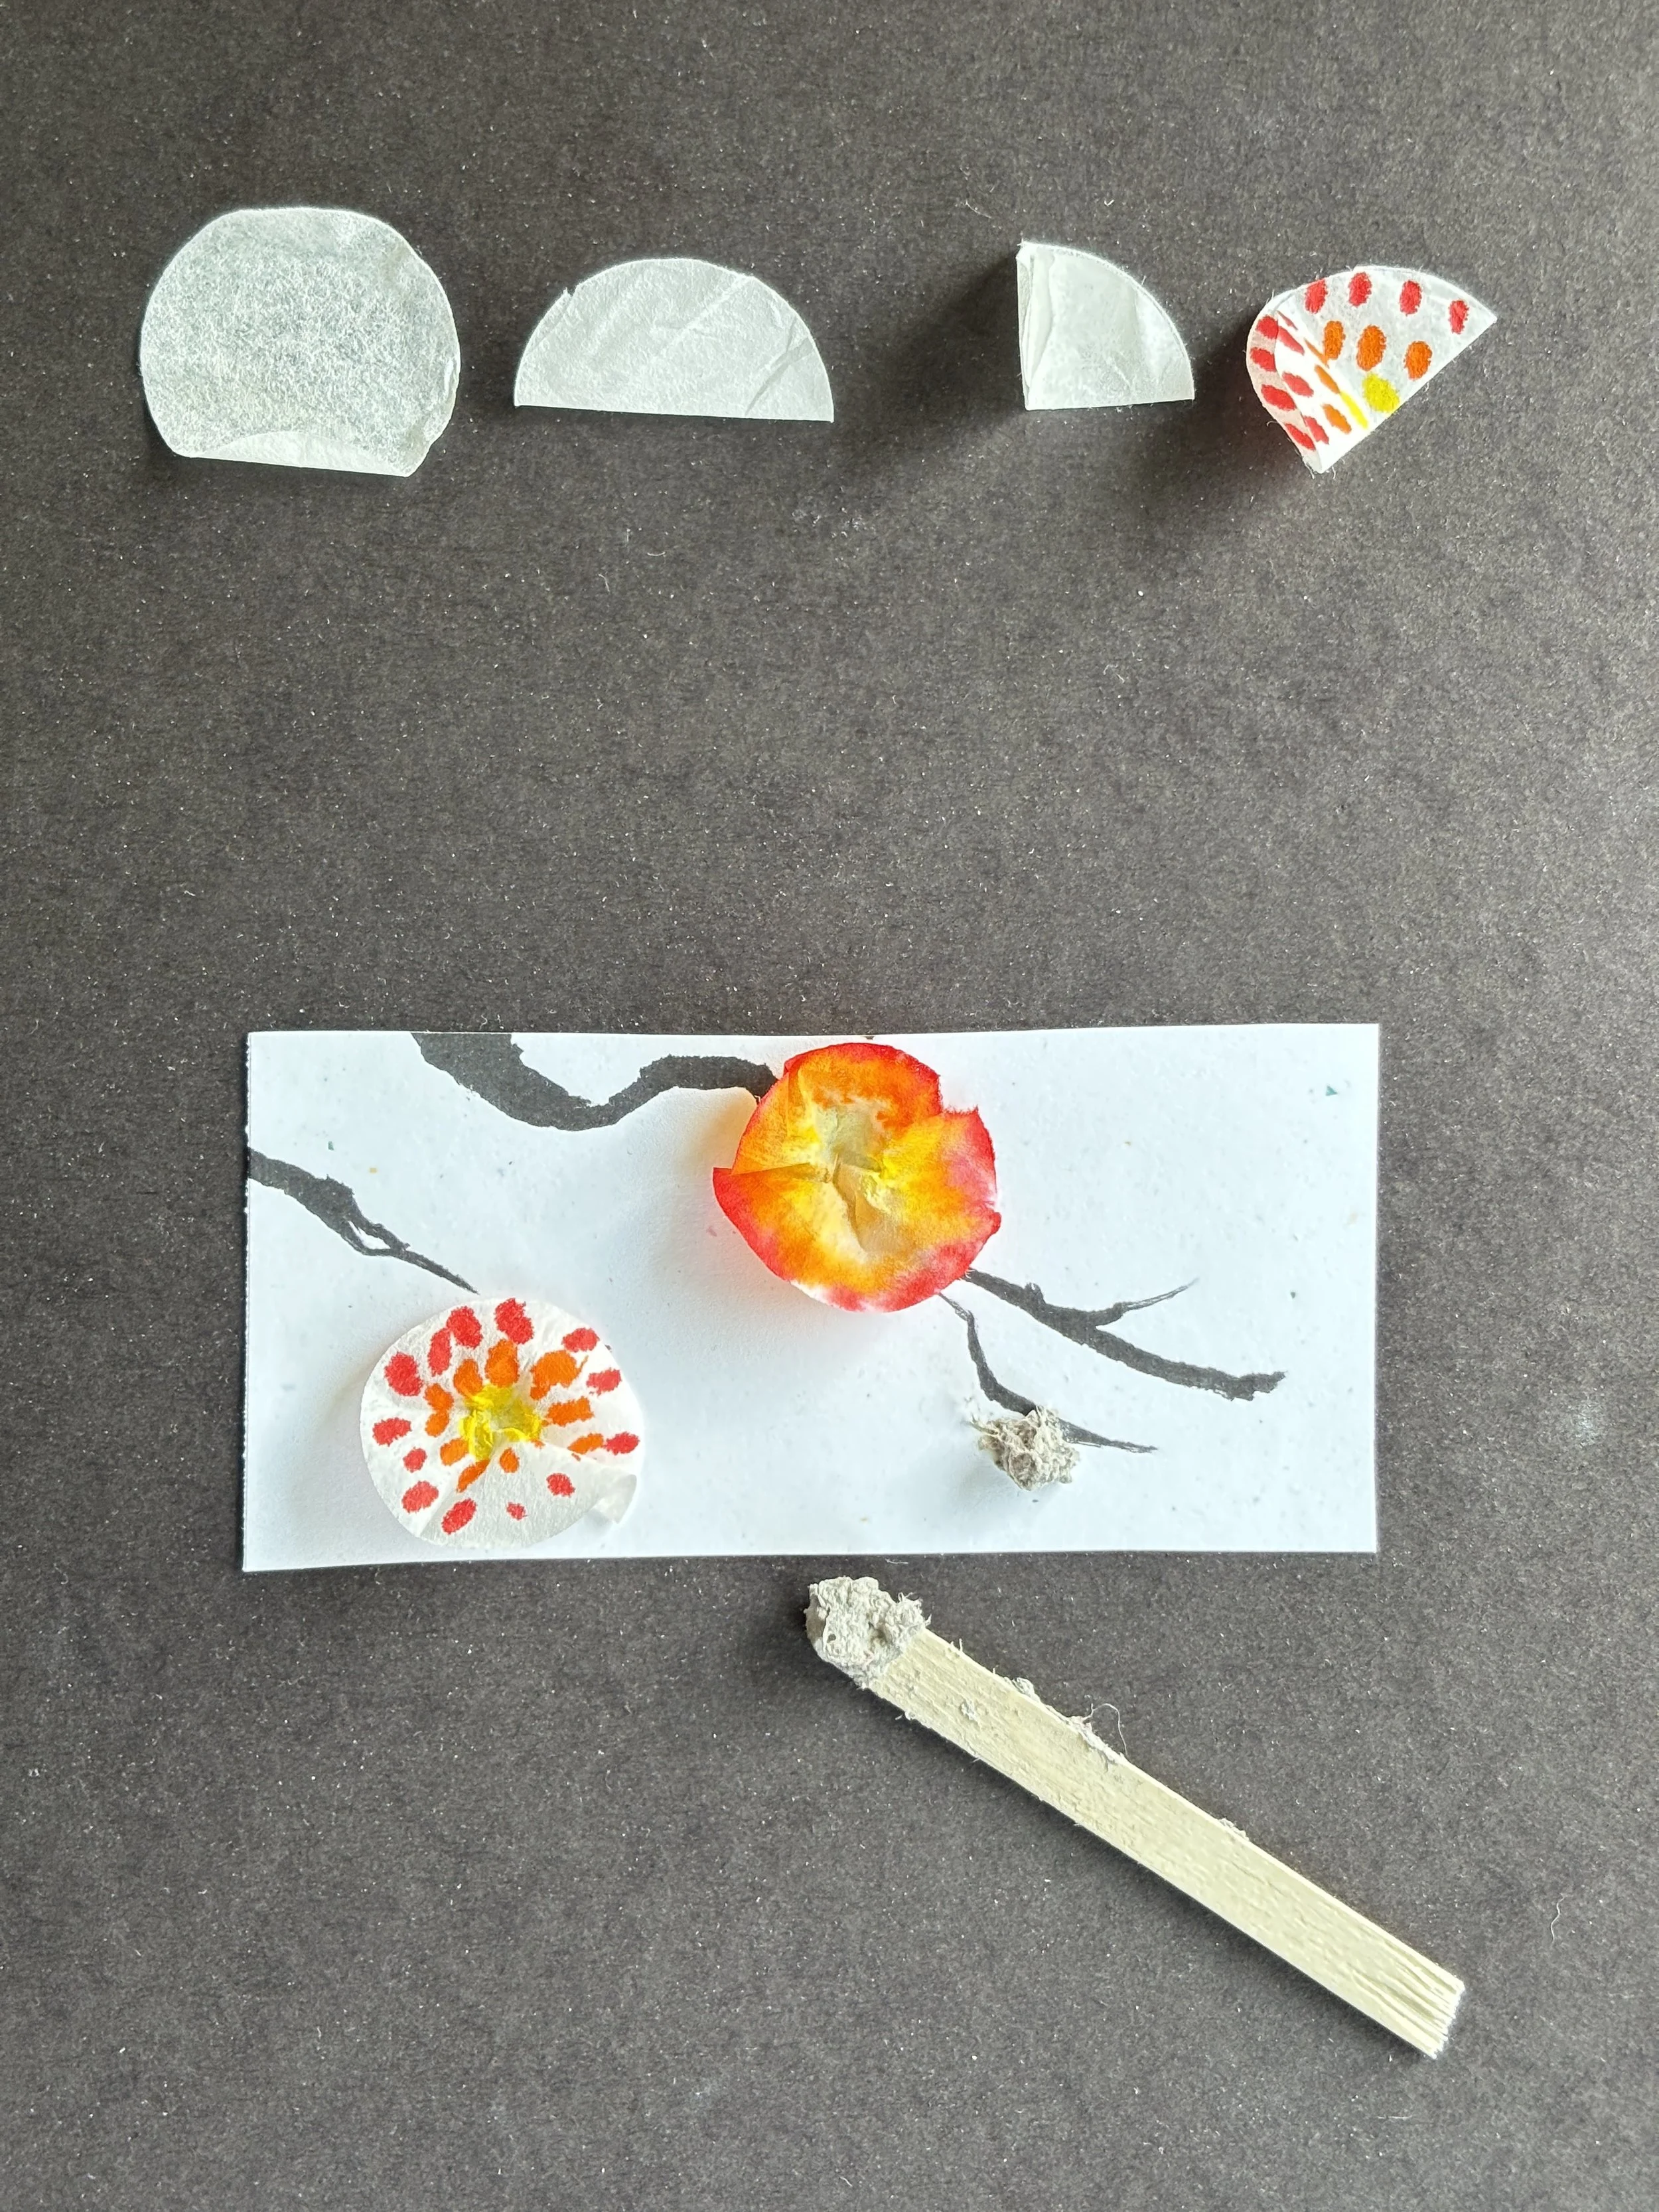
Pre-punch circles from coffee filters. If you punch several filters together, they cut more easily. Circles in photos are 1.5”.
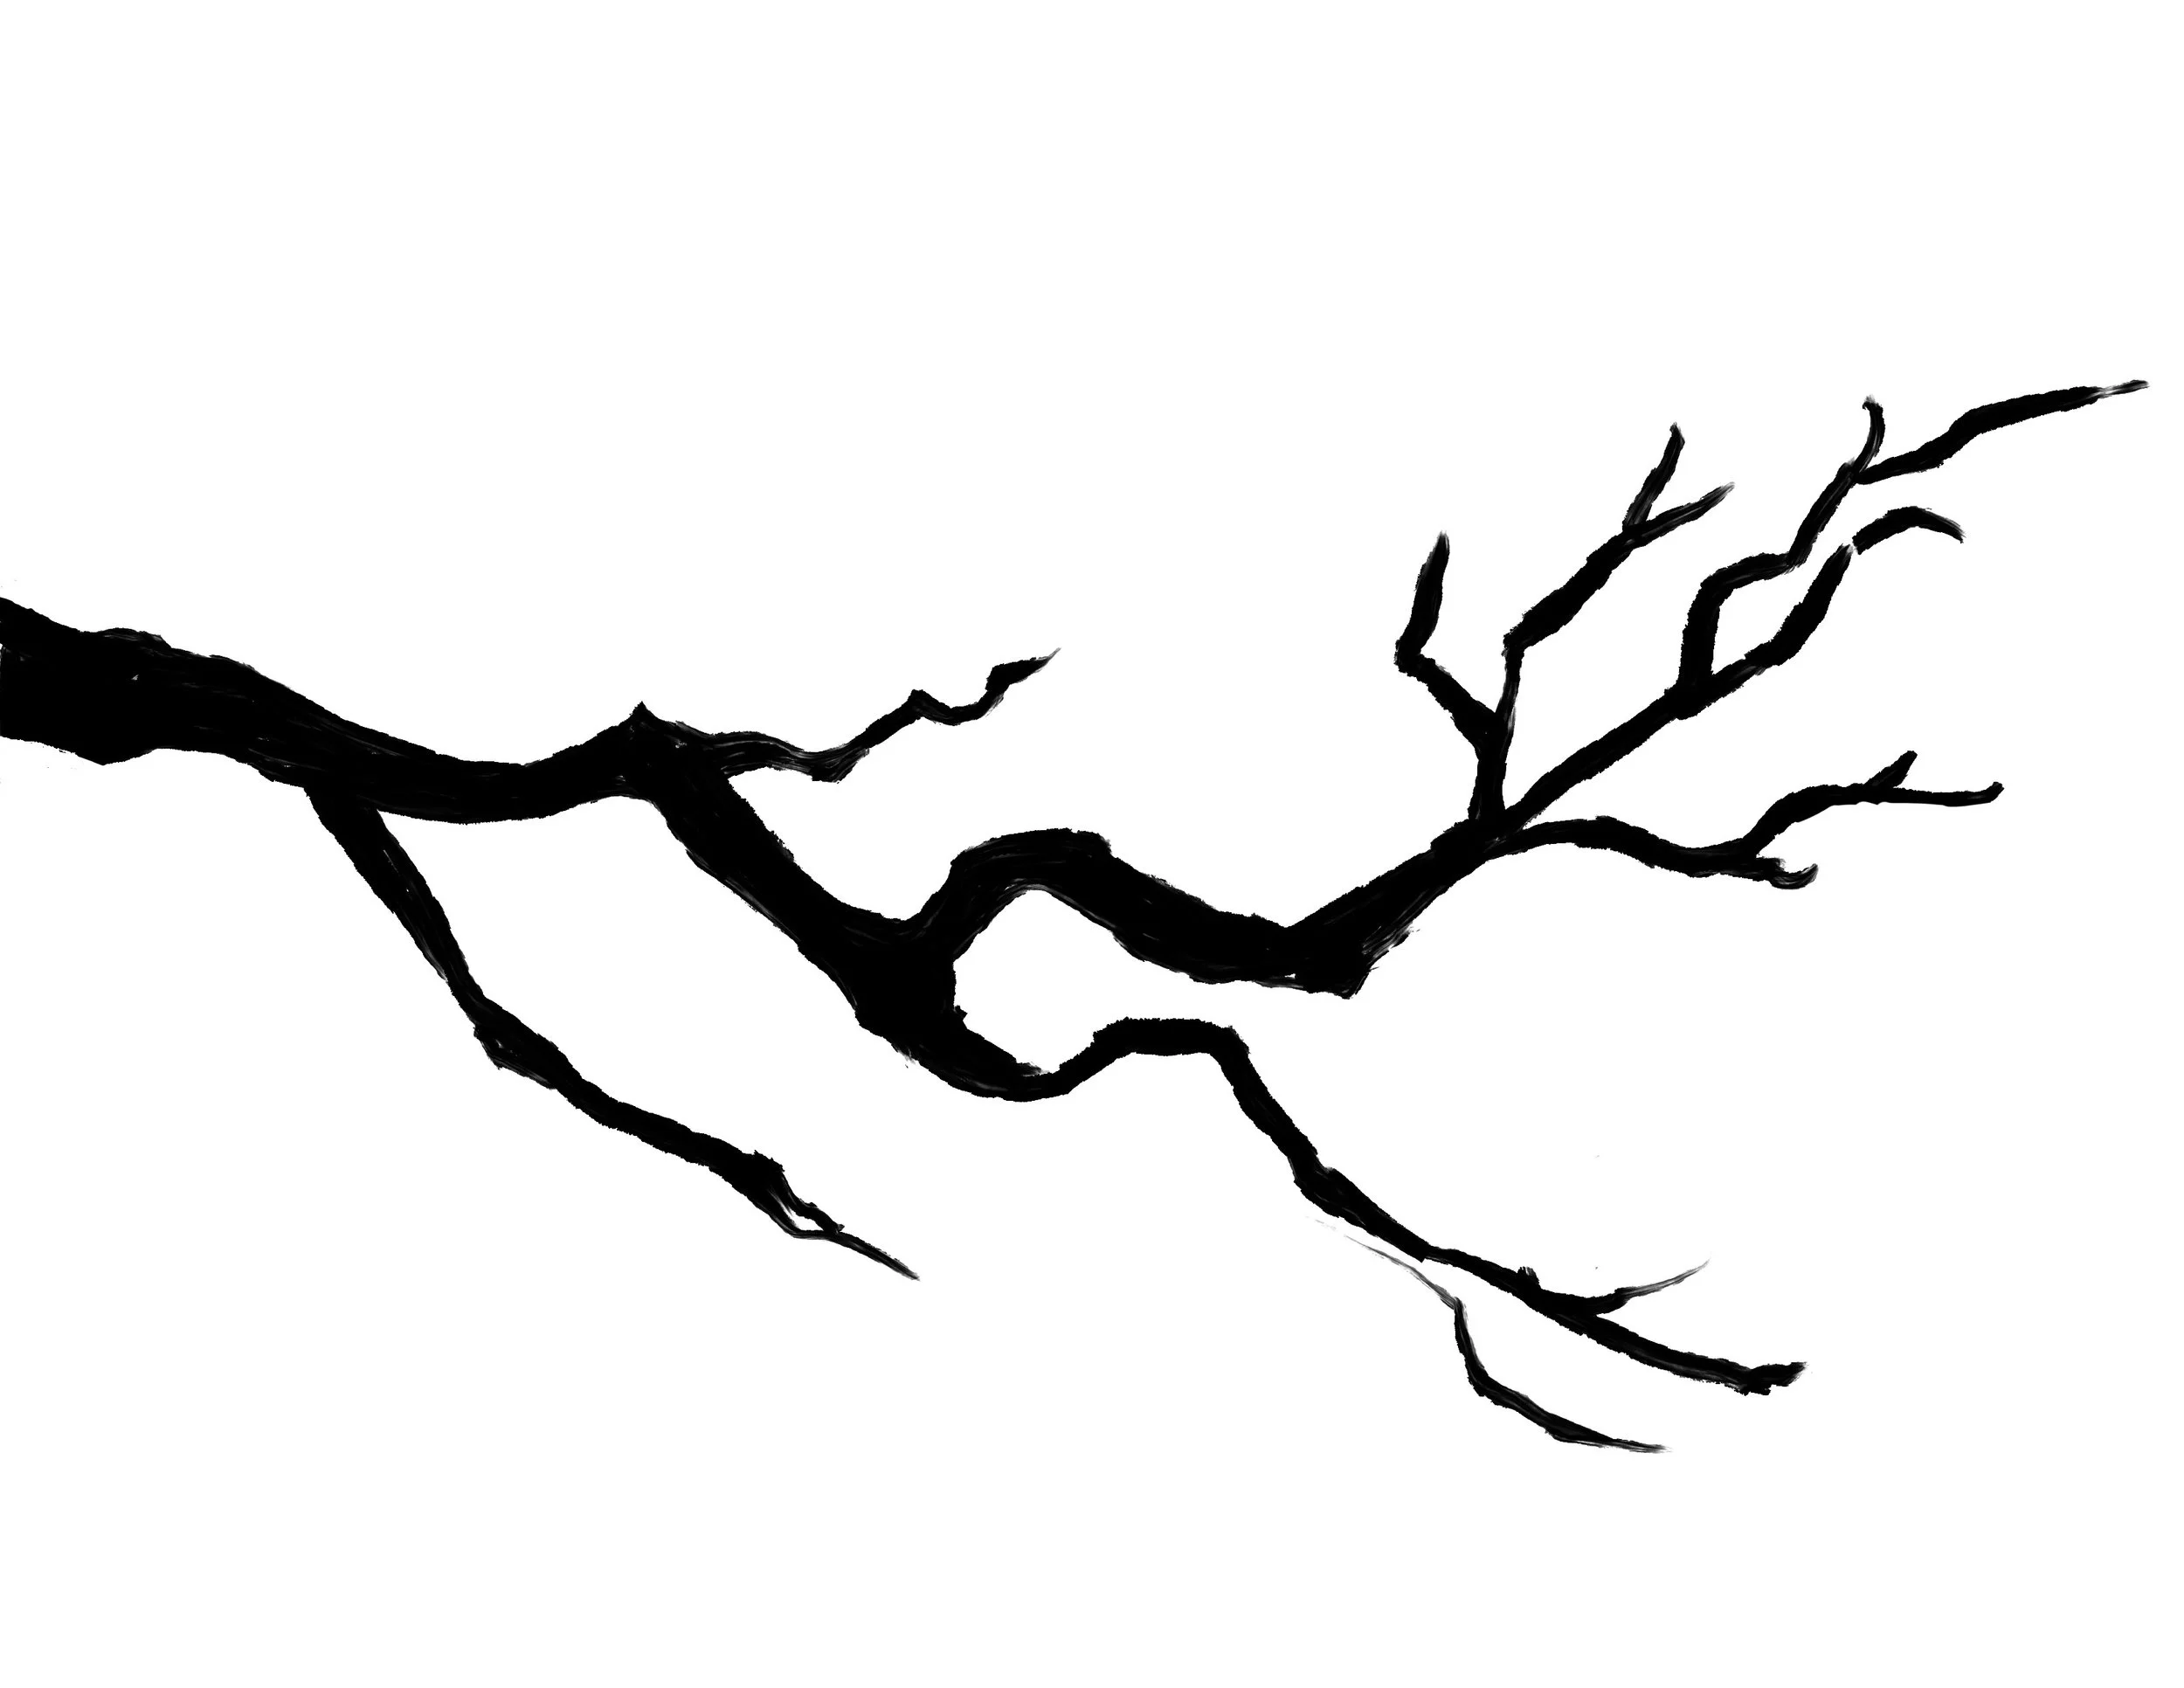
Print branch on card stock. Feel free to use mine.
Premix papier-mâché clay right before workshop time.
The 1st time I did this project, I did it similarly to these posts.
https://www.instagram.com/reel/C329dqKtzbA/?utm_source=ig_web_copy_link&igsh=NTc4MTIwNjQ2YQ==
I made changes because toilet paper has to be hand cut into circles. Using coffee filters and a hole punch is faster to prep, I was just given a bunch of old coffee filters, and most of the participants had done the toilet paper version the previous year so I wanted to give them something a little different. Also, it was cherry blossom season.
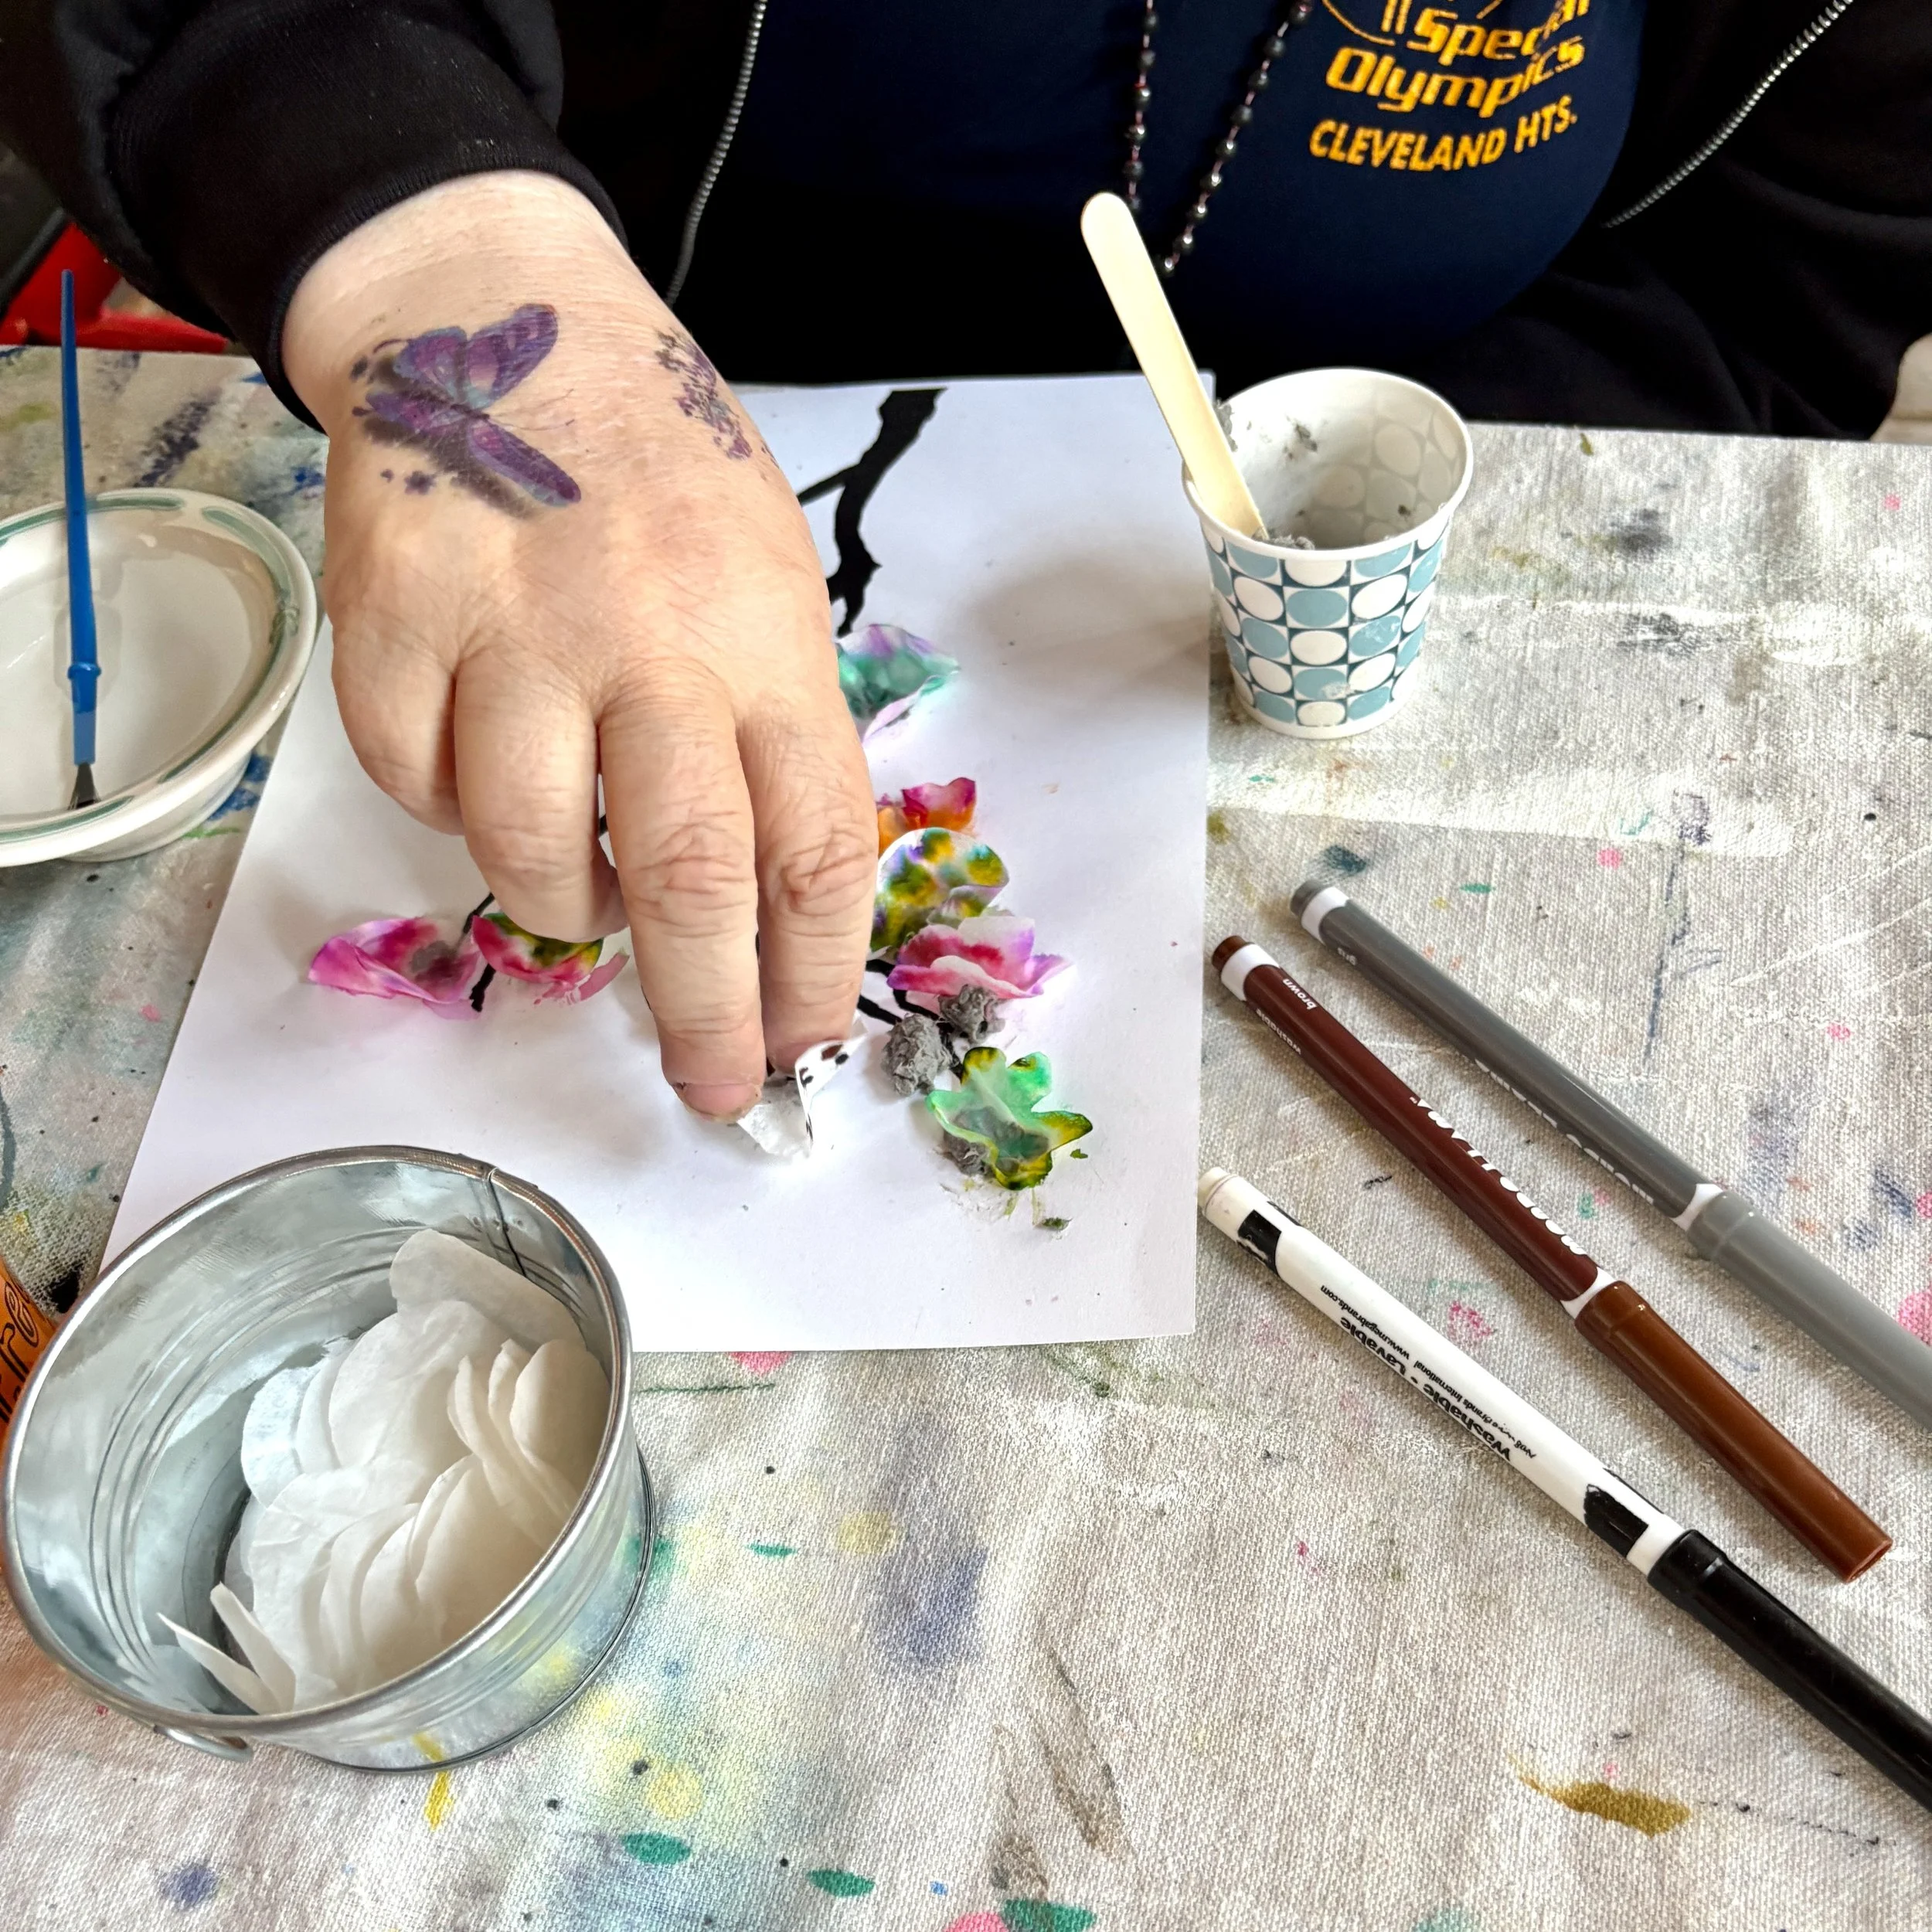
Workshop Gallery
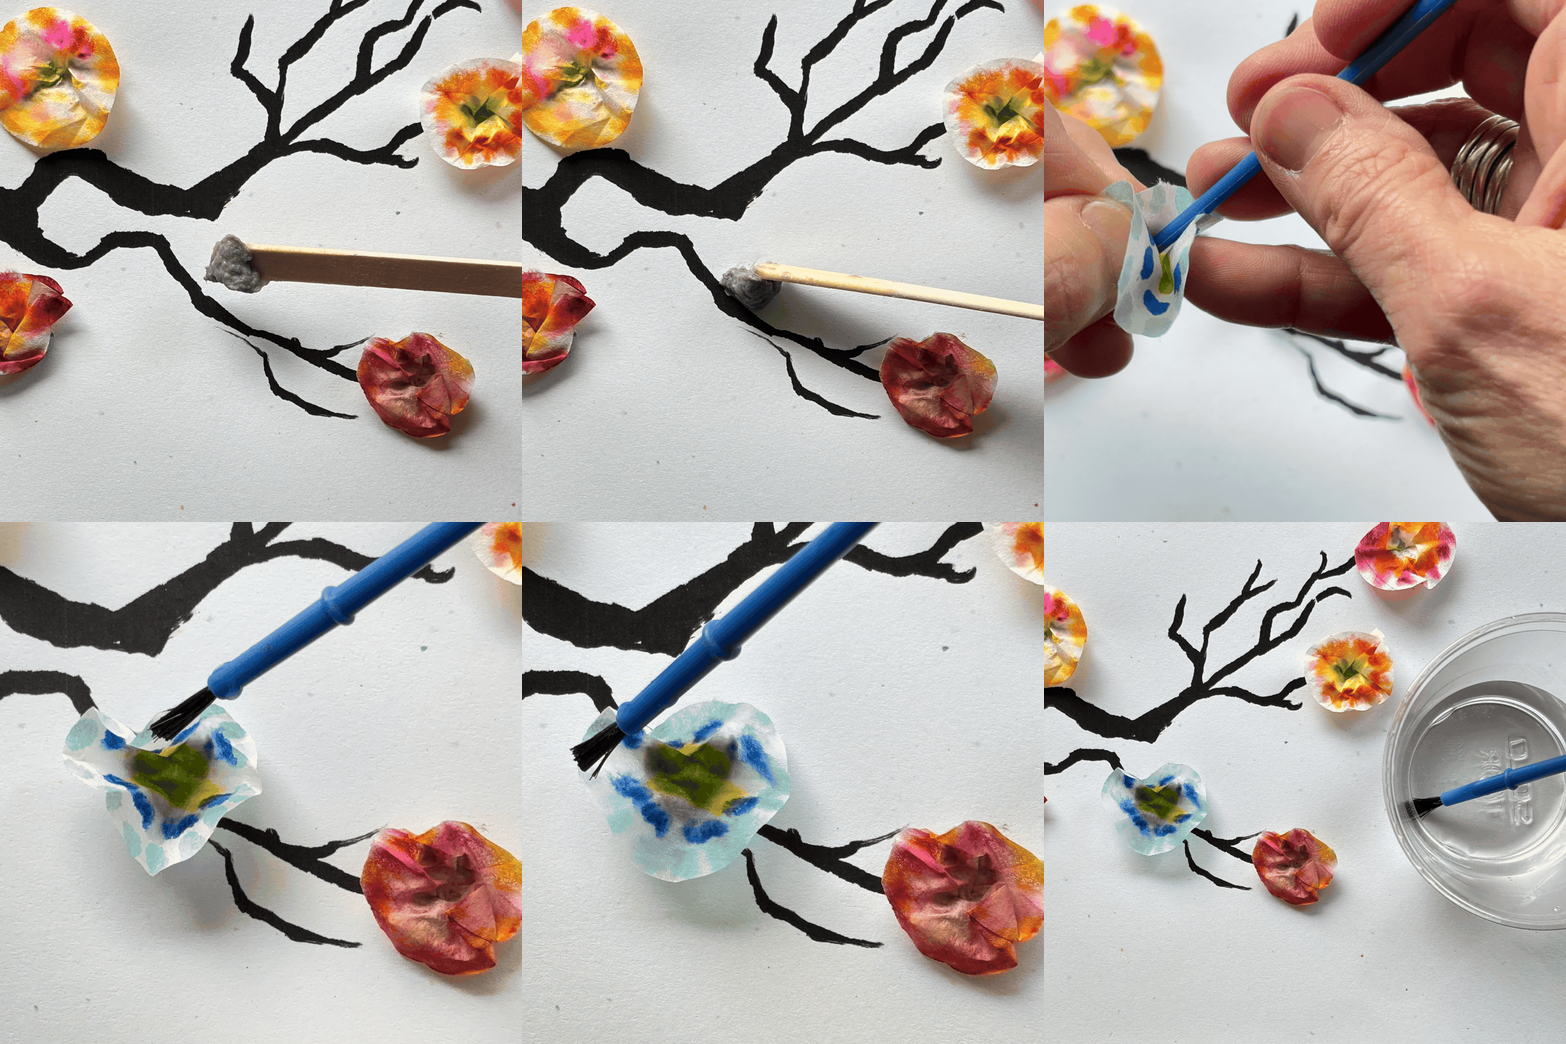
Fold 1 filter circle in half or quarters.
Use water soluble markers to make dots on circle. Ink will bleed through the layers.
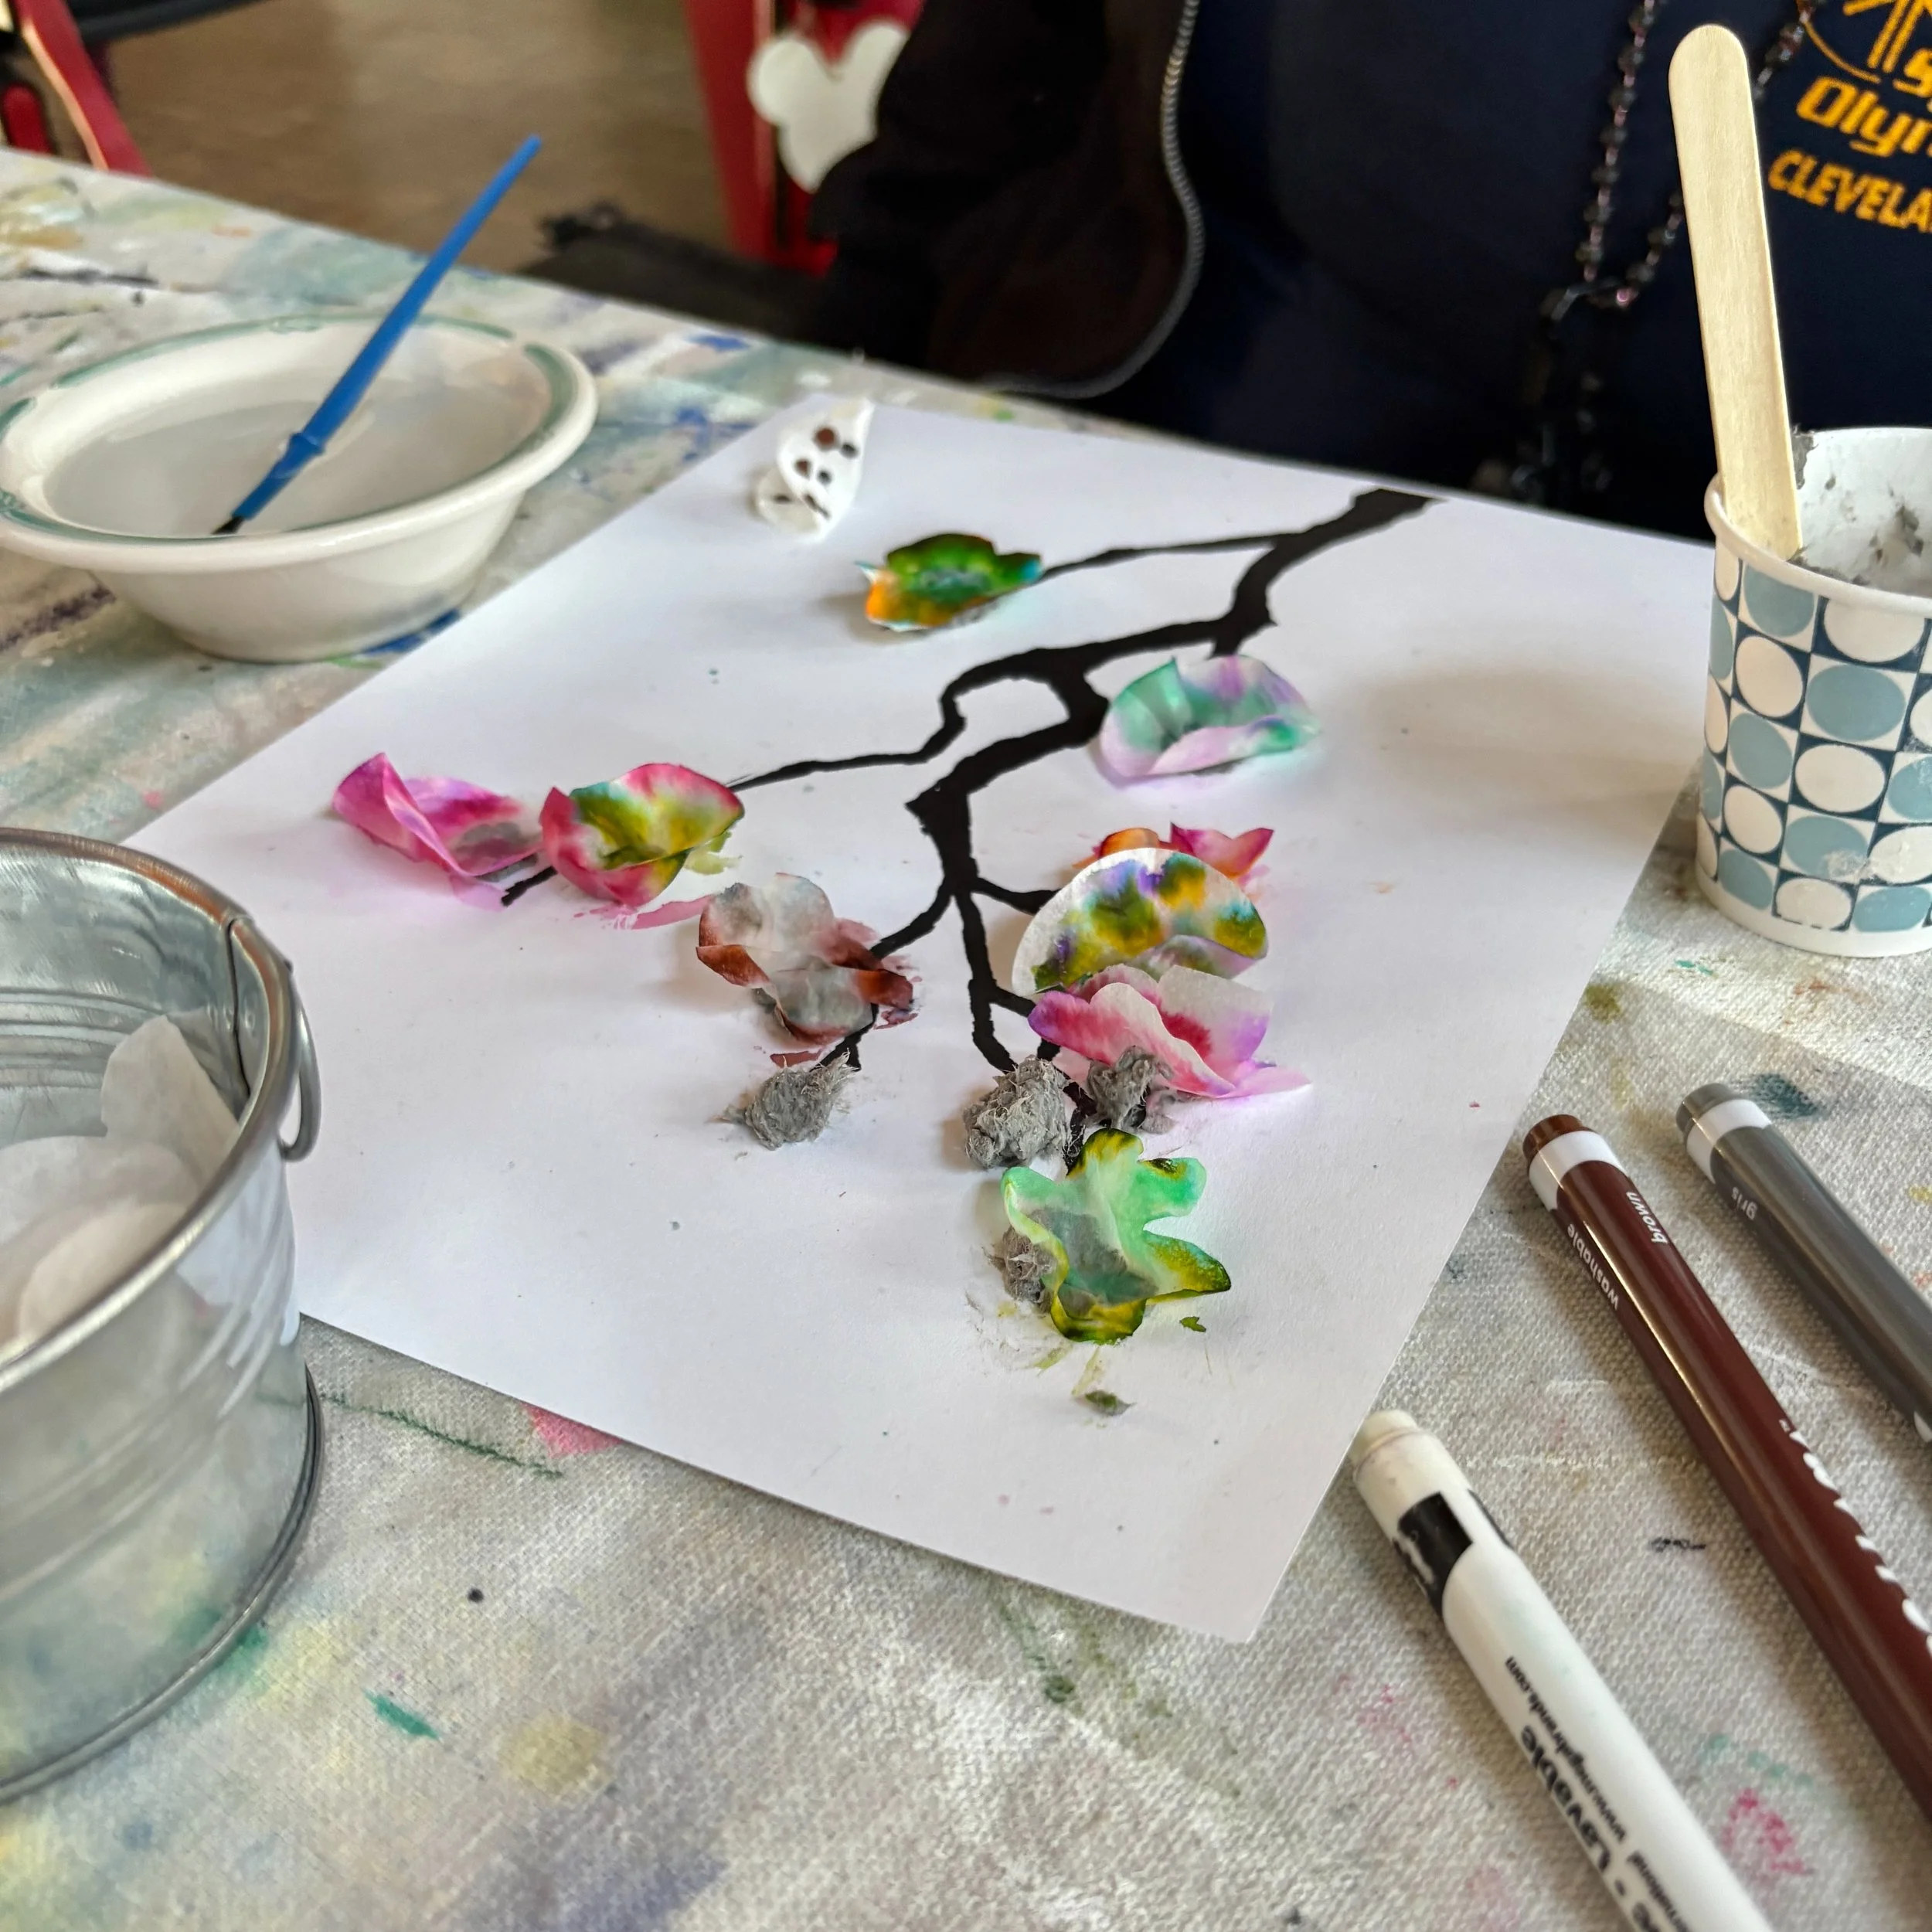
Scoop out a pea sized lump of clay and place on branch where you want the blossom.
Press colored circle into clay with back of paint brush handle.
Gently touch a wet brush to the edges of the circle blossom. Don’t want to add too much water or it will flatten your blossom and rinse the ink away.
This is where the patience comes in as the water slowly spreads the ink.
Start on the next blossom while the ink spreads.
Rationale & Resources
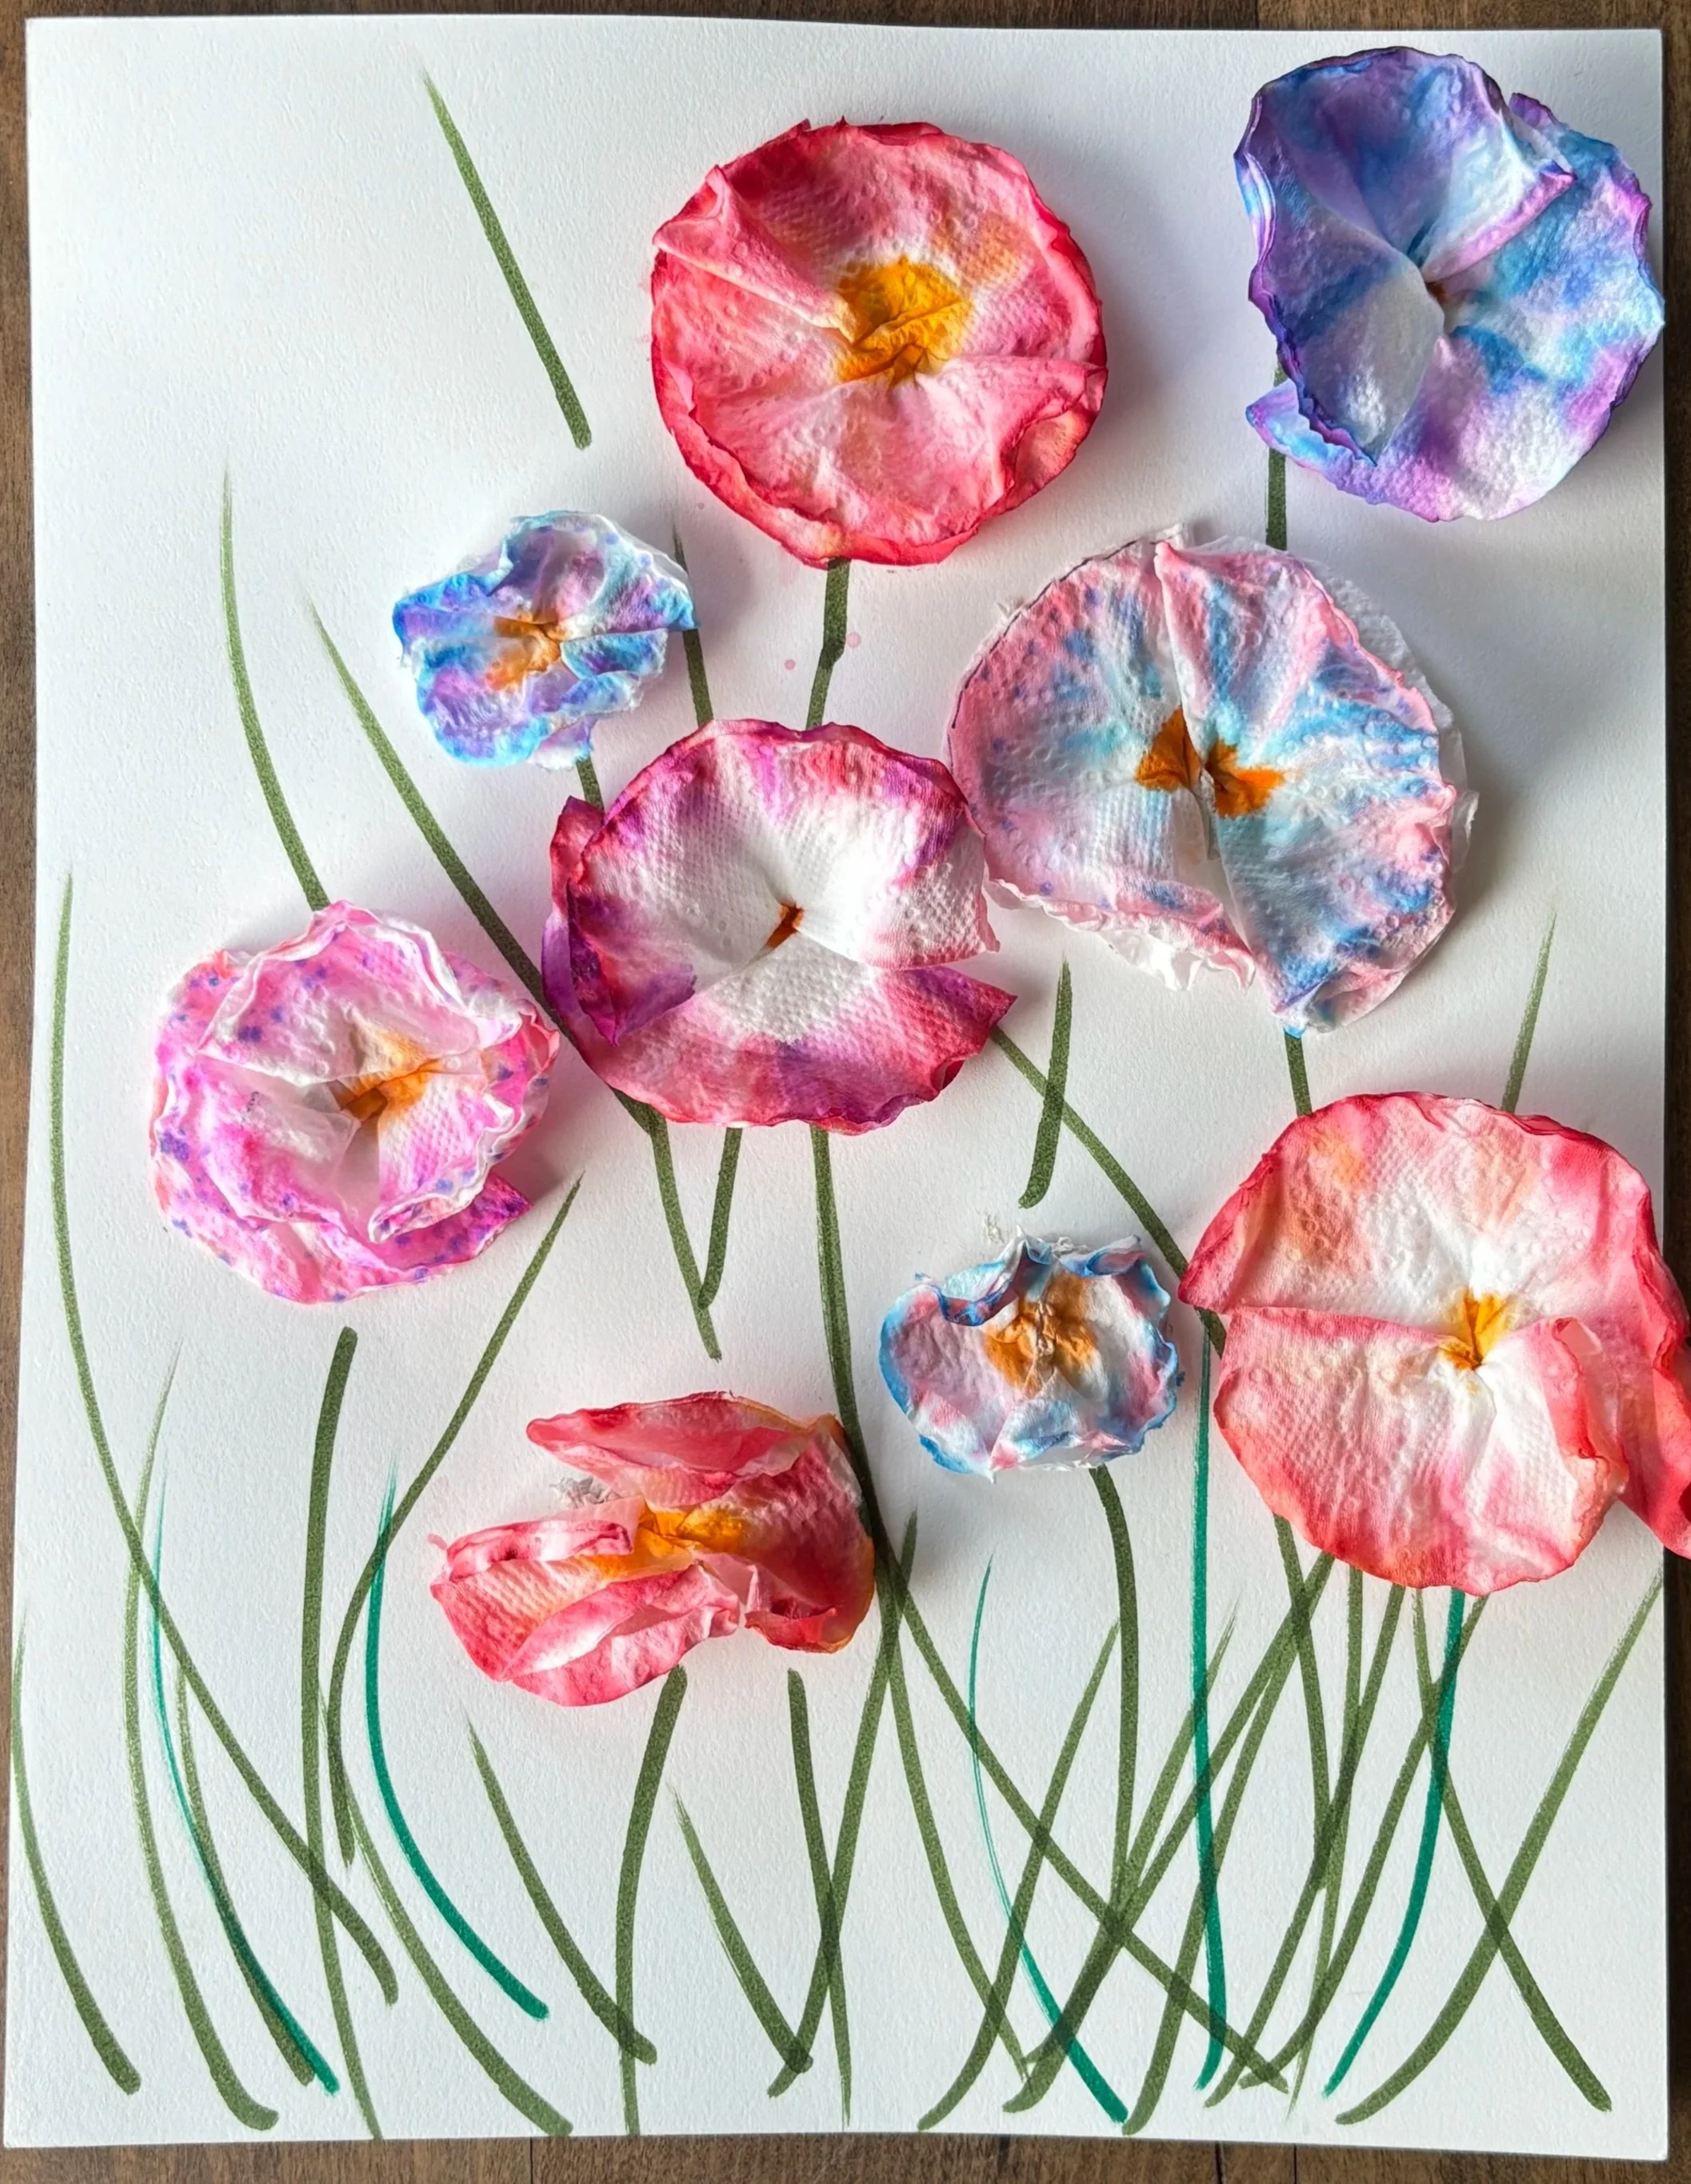
I had an example of a traditional Japanese cherry blossom painting, they can be found royalty free online, But even with that some people wanted their branch oriented vertically like a tree. Which is fine with me.